Are you struggling to access and monitor your Raspberry Pi when it’s behind a firewall and you don’t have a Mac? Don’t worry—this guide has got you covered! Whether you’re a beginner or a seasoned tech enthusiast, monitoring your Raspberry Pi remotely is an essential skill. This task can seem daunting, especially when firewalls and lack of a Mac complicate things. However, with the right tools and techniques, you can securely access your device without breaking a sweat. From setting up secure connections to troubleshooting common issues, this article will walk you through every step of the process.
Monitoring a Raspberry Pi remotely offers immense benefits, from managing IoT projects to troubleshooting server issues. However, when your device is behind a firewall or you’re restricted by hardware limitations, things can get tricky. But fear not—this guide will help you navigate these challenges with ease. We’ll explore a variety of methods, tools, and configurations that ensure seamless access, regardless of your setup. By the end of this article, you’ll have a clear understanding of how to use monitor Raspberry Pi behind firewall without Mac, empowering you to take full control of your projects.
In today’s interconnected world, remote access is more important than ever. Whether you’re managing a home automation system or running a web server, the ability to monitor and control your Raspberry Pi from anywhere is invaluable. But what happens when a firewall blocks your access or you don’t have a Mac to simplify the process? That’s where this guide comes in. We’ll provide you with actionable insights and practical solutions, ensuring that you can confidently monitor your Raspberry Pi in any situation. So, let’s dive in and unlock the full potential of your device!
Table of Contents
- What is Raspberry Pi and Why Use It?
- How to Access Raspberry Pi Remotely?
- Can You Monitor Raspberry Pi Behind a Firewall?
- Tools and Techniques for Remote Monitoring
- How to Use Monitor Raspberry Pi Behind Firewall Without Mac?
- What Are the Common Challenges and How to Overcome Them?
- Step-by-Step Guide to Setting Up Your Raspberry Pi for Remote Monitoring
- Frequently Asked Questions
What is Raspberry Pi and Why Use It?
The Raspberry Pi is a compact, affordable, and versatile single-board computer that has captured the imagination of tech enthusiasts worldwide. Originally designed to promote computer science education, it has since evolved into a powerful tool for a wide range of applications, from home automation to robotics and server hosting. Its low cost, energy efficiency, and open-source nature make it an ideal choice for DIY projects and professional use alike.
One of the key reasons people choose Raspberry Pi is its flexibility. Whether you’re building a media center, setting up a home security system, or running a lightweight web server, the Raspberry Pi can handle it all. Its GPIO (General Purpose Input/Output) pins allow you to connect external devices, sensors, and actuators, making it perfect for IoT projects. Additionally, its compatibility with various operating systems, including Raspberry Pi OS, Ubuntu, and others, ensures that you can tailor it to your specific needs.
But why should you monitor your Raspberry Pi remotely? The answer lies in convenience and efficiency. Remote monitoring allows you to manage your projects without being physically present. For instance, if your Raspberry Pi is running a server, you can monitor its performance, troubleshoot issues, and even update software from anywhere in the world. This capability is especially valuable when your device is behind a firewall or when you lack access to a Mac, as we’ll explore in detail in the following sections.
How to Access Raspberry Pi Remotely?
Accessing your Raspberry Pi remotely is a crucial skill for anyone looking to maximize its potential. But how do you go about it? There are several methods available, each with its own advantages and considerations. Let’s explore two of the most popular techniques: using SSH and configuring port forwarding on your router.
Using SSH for Secure Connections
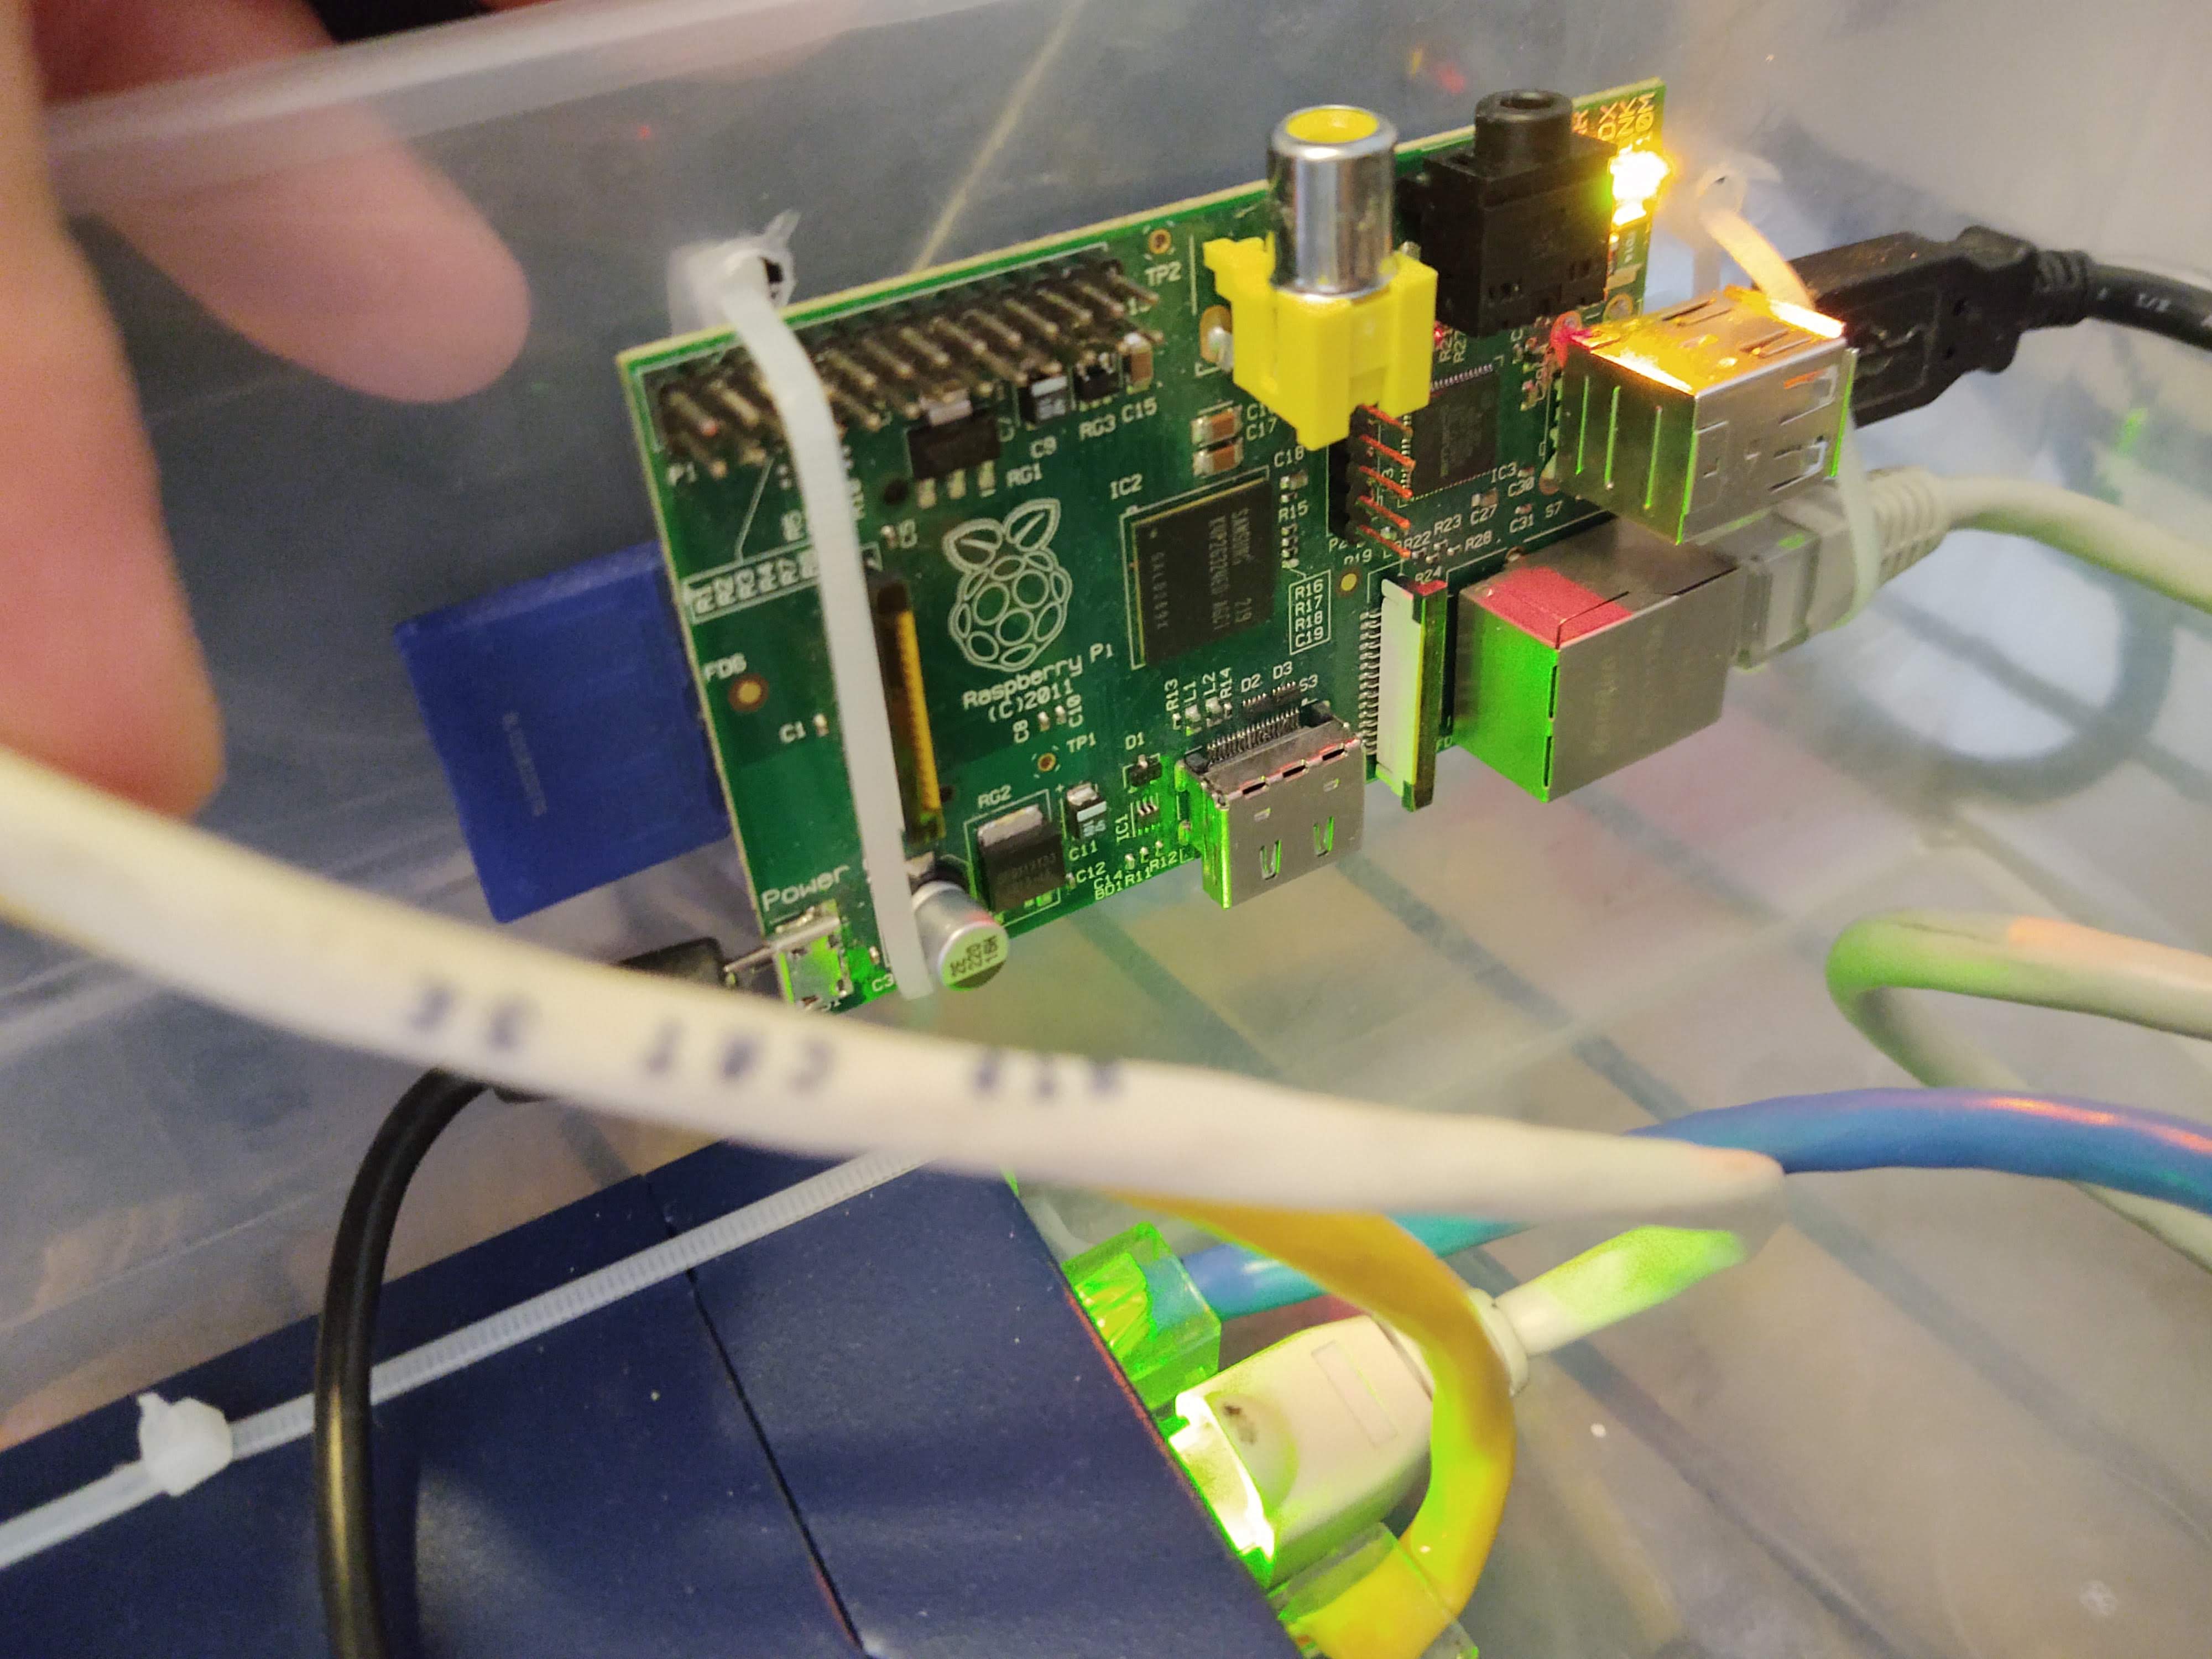
SSH (Secure Shell) is a protocol that allows you to securely access your Raspberry Pi over a network. It’s one of the most reliable and widely used methods for remote access. To get started, you’ll need to enable SSH on your Raspberry Pi. This can be done through the Raspberry Pi configuration tool or by placing an empty file named “ssh” in the boot directory of your SD card.
Once SSH is enabled, you can connect to your Raspberry Pi using an SSH client. On Windows, you can use tools like PuTTY, while Linux and macOS users can use the built-in terminal. Simply enter the IP address of your Raspberry Pi and your login credentials to establish a connection. SSH is not only secure but also lightweight, making it ideal for monitoring tasks.
Configuring Port Forwarding on Your Router
If your Raspberry Pi is behind a firewall or NAT (Network Address Translation), you may need to configure port forwarding on your router to access it remotely. This process involves redirecting external traffic to your Raspberry Pi’s internal IP address. Start by logging into your router’s admin panel and locating the port forwarding section.
Next, create a new rule that forwards traffic from a specific external port (e.g., 22 for SSH) to the internal IP address of your Raspberry Pi and the corresponding port. Be sure to use a non-standard port for added security. Once configured, you can access your Raspberry Pi from outside your local network using your public IP address and the forwarded port.
Can You Monitor Raspberry Pi Behind a Firewall?
Monitoring a Raspberry Pi behind a firewall might seem challenging, but it’s entirely possible with the right approach. Firewalls are designed to protect your network by blocking unauthorized access, but they can also prevent legitimate remote connections. To overcome this hurdle, you’ll need to employ techniques that ensure secure and reliable access.
One effective solution is to use a reverse SSH tunnel. This method allows you to bypass firewall restrictions by creating a secure connection from your Raspberry Pi to an external server. The external server then acts as a relay, enabling you to access your Raspberry Pi from anywhere. Another option is to use a cloud-based service like ngrok, which creates a secure tunnel to your device without requiring complex configurations.
By leveraging these techniques, you can monitor your Raspberry Pi behind a firewall without compromising security. These methods not only provide access but also ensure that your data remains protected from potential threats.
Tools and Techniques for Remote Monitoring
There are numerous tools and techniques available for remote monitoring of your Raspberry Pi. From web-based dashboards to command-line utilities, each option offers unique benefits depending on your needs. Let’s explore some of the most popular tools and how they can enhance your monitoring experience.
One widely used tool is Grafana, a powerful open-source platform for data visualization. By integrating Grafana with your Raspberry Pi, you can create real-time dashboards that display metrics like CPU usage, memory consumption, and network activity. Another useful tool is Nagios, which provides comprehensive monitoring and alerting capabilities. These tools not only simplify monitoring but also help you identify and resolve issues quickly.
Additionally, you can use command-line tools like htop and vnstat to monitor system performance and network usage. These utilities are lightweight and easy to install, making them ideal for resource-constrained devices like the Raspberry Pi. By combining these tools with remote access methods like SSH, you can gain full visibility into your device’s operations from anywhere in the world.
How to Use Monitor Raspberry Pi Behind Firewall Without Mac?
Monitoring your Raspberry Pi behind a firewall without a Mac requires a strategic approach. While Mac users often benefit from built-in tools like Terminal and iCloud, Windows and Linux users can achieve the same results with alternative methods. Let’s explore two effective techniques: using a VPN and leveraging cloud services.
Using VPN for Secure Access
A Virtual Private Network (VPN) is an excellent solution for securely accessing your Raspberry Pi behind a firewall. By setting up a VPN server on your Raspberry Pi, you can create an encrypted connection that bypasses firewall restrictions. This method ensures that your data remains private and secure while allowing you to monitor your device remotely.
To set up a VPN, you can use software like OpenVPN or WireGuard. These tools are open-source, easy to configure, and highly reliable. Once installed, you can connect to your Raspberry Pi from any device with a VPN client, regardless of your operating system. This approach not only provides secure access but also eliminates the need for port forwarding or complex configurations.
Leveraging Cloud Services for Remote Access
Cloud services offer another convenient way to monitor your Raspberry Pi behind a firewall without a Mac. Platforms like AWS, Google Cloud, and Azure allow you to create virtual machines that act as intermediaries for remote access. By deploying a lightweight server in the cloud, you can establish a secure connection to your Raspberry Pi from anywhere.
One popular service is ngrok, which creates a secure tunnel to your device without requiring complex setups. Simply install ngrok on your Raspberry Pi, and it will generate a public URL that you can use to access your device remotely. This method is particularly useful for users who lack technical expertise or prefer a hassle-free solution. By leveraging cloud services, you can overcome firewall restrictions and monitor your Raspberry Pi with ease.
What Are the Common Challenges and How to Overcome Them?
While monitoring your Raspberry Pi remotely offers numerous benefits, it also comes with its fair share of challenges. From connectivity issues to security concerns, these obstacles can hinder your ability to access and manage your device effectively. Let’s explore some common challenges and how to address them.
One frequent issue is unstable internet connections. If your Raspberry Pi or router experiences intermittent connectivity, remote access can become unreliable. To mitigate this, consider using a wired Ethernet connection instead of Wi-Fi. Additionally, you can set up a watchdog script on your Raspberry Pi to restart the device in case of network failures.
Security is another critical concern when accessing your Raspberry Pi remotely. To protect your device from unauthorized access, always use strong passwords and enable two-factor authentication (2FA) where possible. Regularly update your software and firmware to patch vulnerabilities, and avoid exposing your Raspberry Pi to the public internet without proper safeguards.
Finally, compatibility issues can arise when using different operating systems or tools. To avoid these problems, test your setup thoroughly and ensure that all components are compatible. By addressing these challenges proactively, you can ensure a smooth and secure remote monitoring experience.
Step-by-Step Guide to Setting Up Your Raspberry Pi for Remote Monitoring
Setting up your Raspberry Pi for remote monitoring involves several steps, from initial configuration to deploying monitoring tools. Follow this step-by-step guide to ensure a seamless setup process.
- Install and Update Raspberry Pi OS: Begin by downloading and installing the latest version of Raspberry Pi OS. Once installed, update the system using the following commands:
sudo apt update && sudo apt upgrade - Enable SSH: Enable SSH by running
sudo raspi-configand navigating to “Interfacing Options.” Select “SSH” and choose “Yes” to enable it. - Configure Port Forwarding: Log into your router’s admin panel and set up port forwarding to redirect traffic to your Raspberry Pi’s IP address.
- Install Monitoring Tools: Use tools like Grafana, Nagios, or htop to monitor system performance and network activity.
- Secure Your Connection: Use a VPN or SSH
You Might Also Like
How To Effortlessly Remote Connect Raspberry Pi Behind Firewall Without MacUnlocking The Secrets Of Mewing Transformation: A Complete Guide
Exploring Barron Trump's Musical Journey: Does Barron Trump Sing?
Exploring Kono Koi Ni Kizute: A Journey Through Love, Connection, And Growth
Lee Min-Ho GF: Everything You Need To Know About His Love Life
Article Recommendations