Accessing your Raspberry Pi remotely outside the network is a game-changer for tech enthusiasts and professionals alike. Whether you’re managing a home server, running IoT projects, or simply troubleshooting your device from afar, remote access eliminates the need to be physically present. With the right tools and configurations, you can control your Raspberry Pi securely from anywhere in the world. This guide will walk you through everything you need to know to set up and manage this process seamlessly.
Remote access to your Raspberry Pi opens up a world of possibilities. You can monitor your projects, update software, or even host websites without needing to stay tethered to your local network. However, setting up this functionality requires careful planning and execution. From enabling SSH to configuring port forwarding, we’ll cover all the essential steps to ensure your setup is both secure and efficient. By the end of this article, you’ll have the knowledge to confidently access your Raspberry Pi remotely without compromising security.
Before diving into the technical details, it’s important to understand the tools and protocols involved in remote access. Technologies like SSH (Secure Shell), VPNs (Virtual Private Networks), and cloud-based services play a crucial role in enabling remote connectivity. Additionally, you’ll learn about best practices to protect your Raspberry Pi from unauthorized access. Let’s explore how to access your Raspberry Pi remotely outside the network and unlock its full potential.
Table of Contents
- What is Remote Access and Why is it Important?
- How Do I Enable SSH on My Raspberry Pi?
- What is Port Forwarding and How Does it Work?
- Can I Use a VPN to Access My Raspberry Pi Remotely?
- How Do I Access My Raspberry Pi Remotely Outside the Network?
- Alternative Methods to Access Your Raspberry Pi Remotely
- How to Secure Your Raspberry Pi for Remote Access
- Frequently Asked Questions About Remote Access
What is Remote Access and Why is it Important?
Remote access refers to the ability to connect to and control a device, such as a Raspberry Pi, from a different location. This capability is particularly useful for managing servers, IoT devices, or any project that requires constant monitoring. By accessing your Raspberry Pi remotely, you can perform tasks like updating software, transferring files, or troubleshooting issues without being physically present.
One of the key benefits of remote access is convenience. Imagine being able to manage your home automation system while traveling or updating your Raspberry Pi-based web server during a power outage. Remote access saves time and effort, making it an essential tool for tech enthusiasts and professionals alike. Additionally, it allows for real-time monitoring, ensuring that your projects run smoothly even when you’re miles away.
However, remote access also comes with its own set of challenges, particularly in terms of security. Without proper precautions, your Raspberry Pi could become vulnerable to cyberattacks. This is why it’s crucial to implement robust security measures, such as enabling firewalls, using strong passwords, and encrypting data transmissions. By understanding the importance of remote access and its associated risks, you can make informed decisions about setting up and managing your Raspberry Pi remotely.
How Do I Enable SSH on My Raspberry Pi?
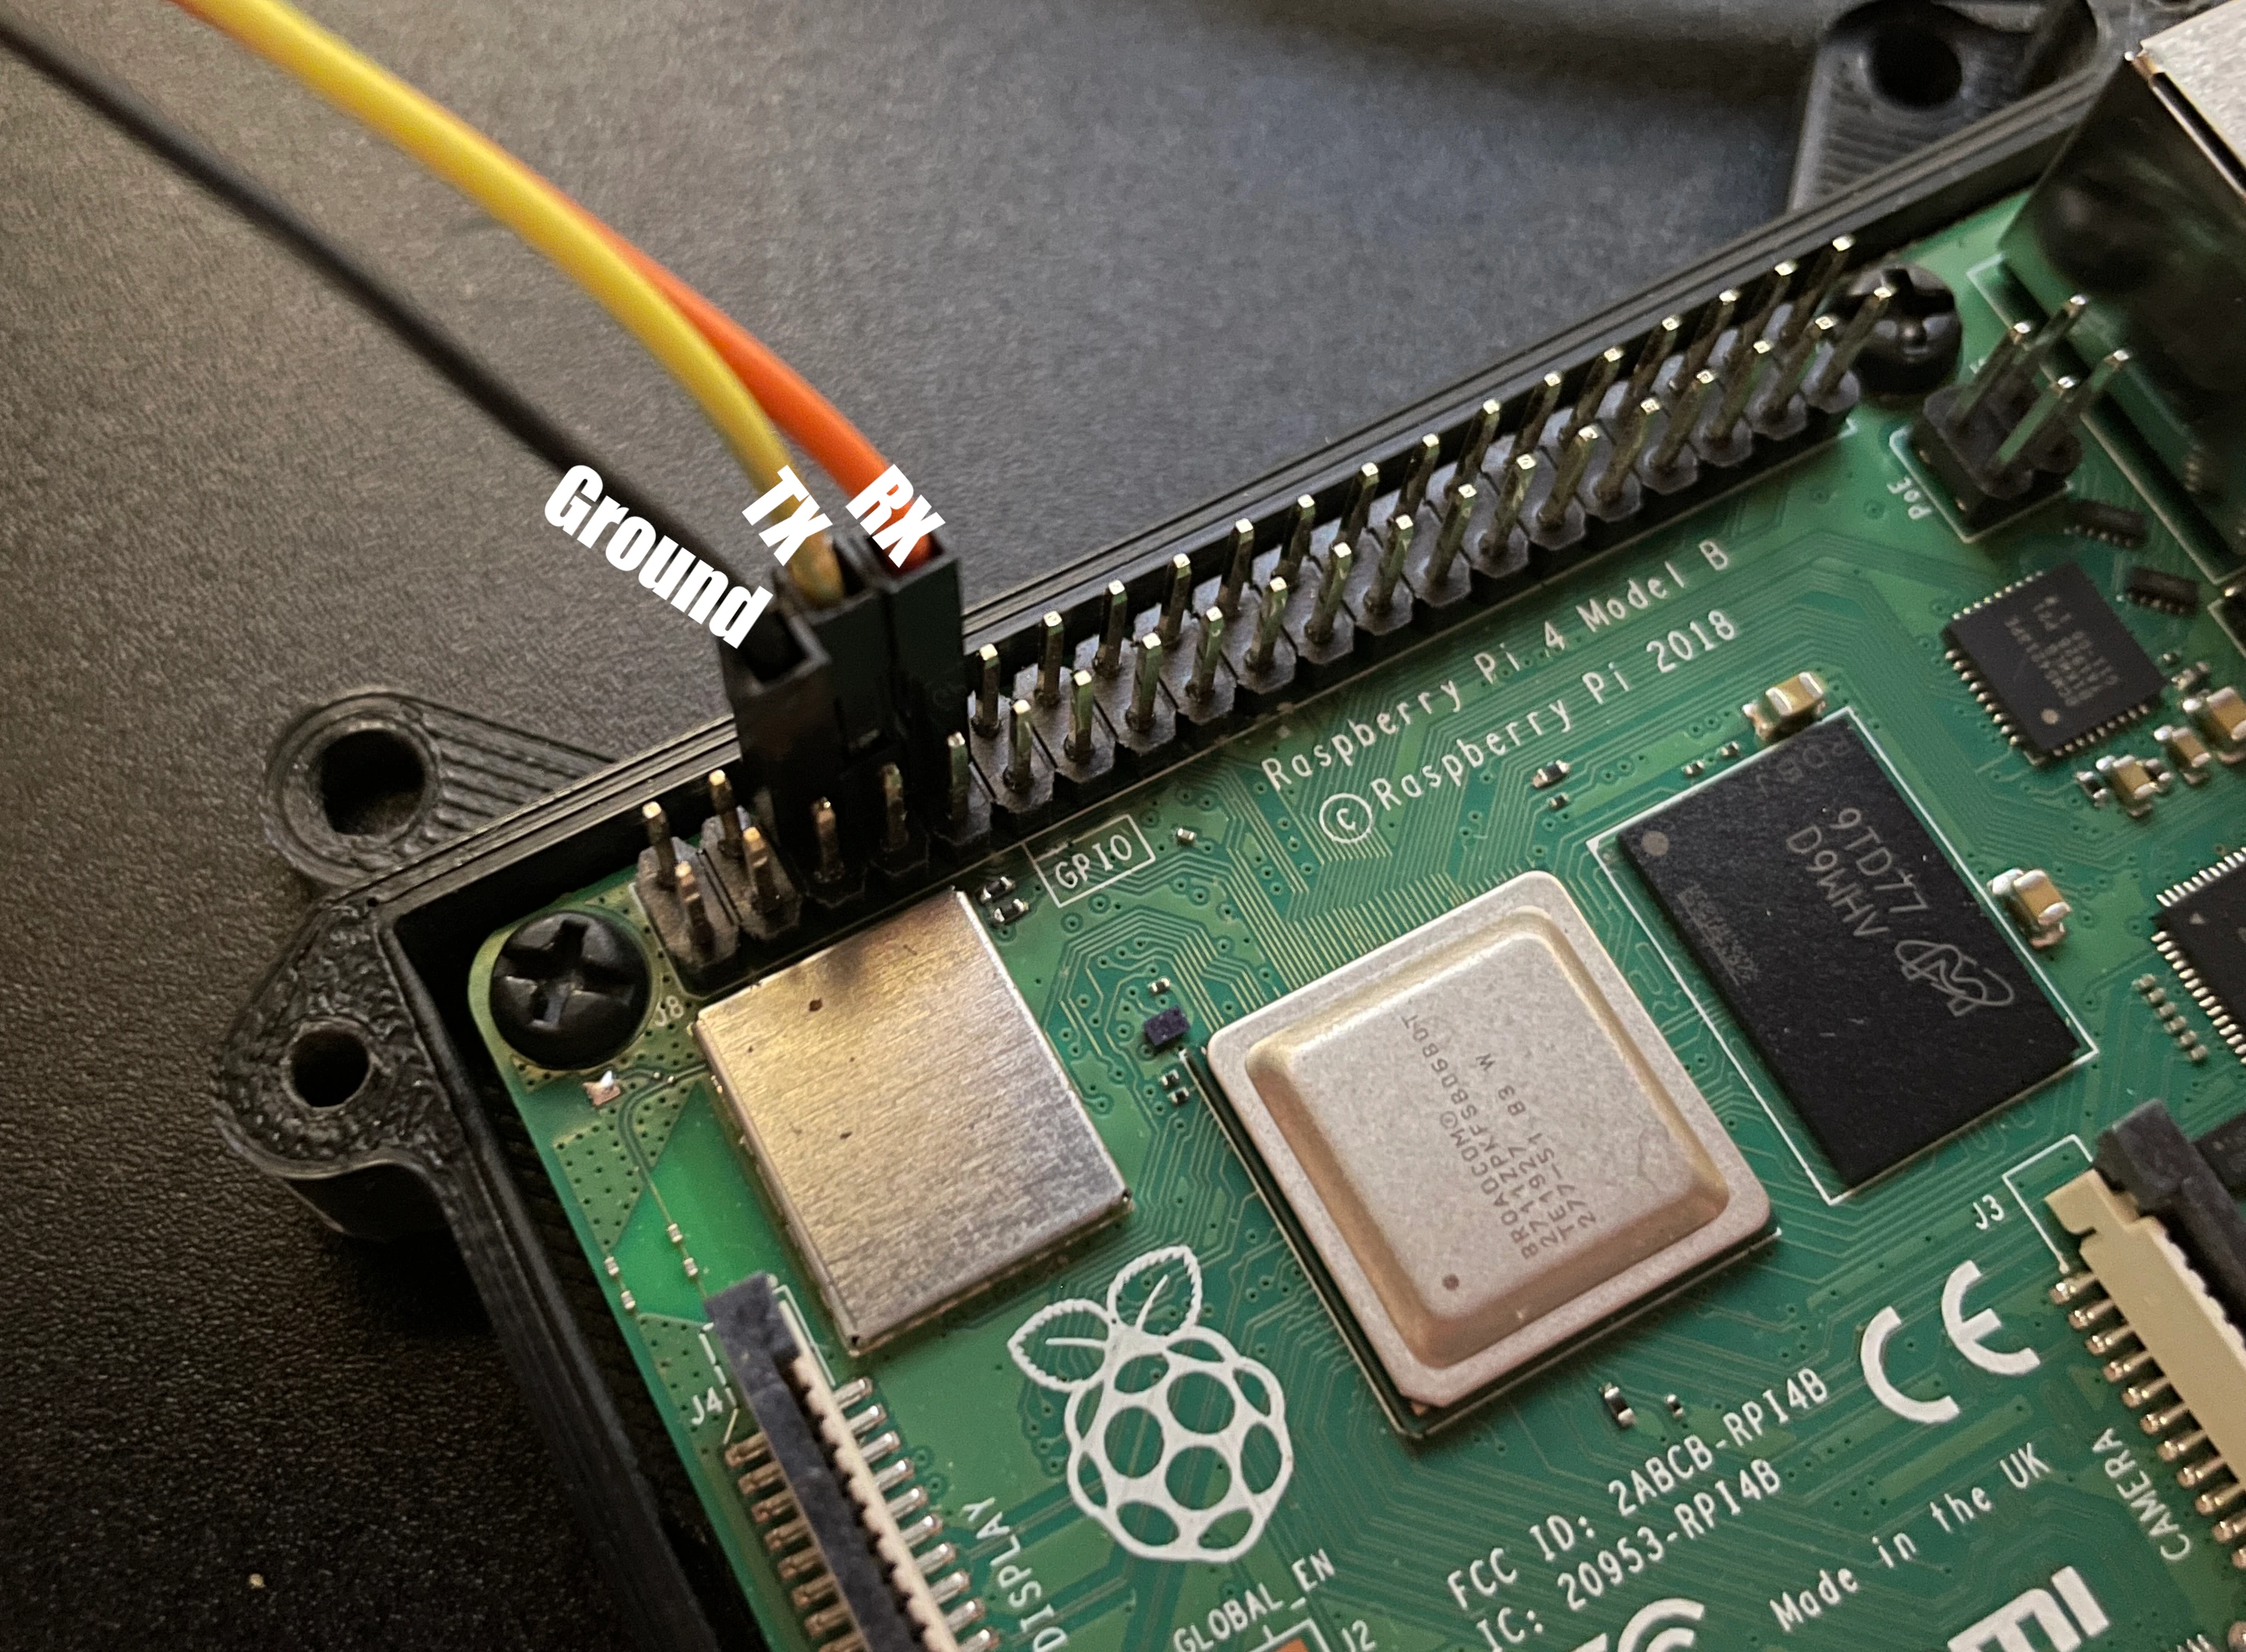
SSH, or Secure Shell, is a protocol that allows you to securely connect to your Raspberry Pi over a network. Enabling SSH is one of the first steps in setting up remote access. Here’s how you can do it:
Step 1: Enable SSH via Raspberry Pi Configuration
To enable SSH, start by connecting your Raspberry Pi to a monitor, keyboard, and mouse. Open the Raspberry Pi Configuration tool by navigating to the Preferences menu. Under the Interfaces tab, locate the SSH option and enable it. Once enabled, your Raspberry Pi will allow SSH connections.
Step 2: Create an Empty SSH File
If you’re setting up your Raspberry Pi headlessly (without a monitor), you can enable SSH by creating an empty file named "ssh" in the boot partition of your SD card. This method is particularly useful for users who want to configure their Raspberry Pi remotely from the get-go.
Step 3: Connect to Your Raspberry Pi via SSH
To connect to your Raspberry Pi using SSH, you’ll need an SSH client like PuTTY (for Windows) or Terminal (for macOS and Linux). Use the following command to establish a connection: ssh pi@your_raspberry_pi_ip_address. Replace "your_raspberry_pi_ip_address" with the actual IP address of your device. Once connected, you can execute commands and manage your Raspberry Pi remotely.
What is Port Forwarding and How Does it Work?
Port forwarding is a technique used to allow external devices to access services running on your Raspberry Pi. When you attempt to connect to your Raspberry Pi from outside your local network, your router needs to know which device to direct the incoming traffic to. This is where port forwarding comes in.
How to Set Up Port Forwarding
To configure port forwarding, log in to your router’s admin panel. This is usually done by entering your router’s IP address (e.g., 192.168.1.1) in a web browser. Once logged in, navigate to the port forwarding section and create a new rule. Specify the port number you want to forward (e.g., port 22 for SSH) and the local IP address of your Raspberry Pi. Save the changes and restart your router if necessary.
Considerations for Port Forwarding
While port forwarding is essential for remote access, it also exposes your Raspberry Pi to potential security risks. To mitigate these risks, consider using non-standard ports, enabling firewalls, and regularly updating your device’s software. Additionally, avoid exposing sensitive services like SSH to the public internet unless absolutely necessary.
Can I Use a VPN to Access My Raspberry Pi Remotely?
Yes, using a VPN (Virtual Private Network) is a secure and efficient way to access your Raspberry Pi remotely. A VPN creates an encrypted tunnel between your device and your Raspberry Pi, ensuring that your data remains private and secure.
Setting Up a VPN on Your Raspberry Pi
To set up a VPN, you can use software like OpenVPN or WireGuard. These tools allow you to create a private network that you can connect to from anywhere. Once configured, you can access your Raspberry Pi as if you were on the same local network, eliminating the need for port forwarding.
Benefits of Using a VPN
Using a VPN offers several advantages, including enhanced security, easier access, and reduced reliance on port forwarding. Additionally, a VPN can help you bypass geographic restrictions and protect your data from prying eyes. However, setting up a VPN requires technical expertise, so it may not be suitable for beginners.
How Do I Access My Raspberry Pi Remotely Outside the Network?
Accessing your Raspberry Pi remotely outside the network involves several steps, from configuring your router to setting up dynamic DNS. Let’s break it down into two key steps:
Step 1: Configure Your Router for Remote Access
The first step is to configure your router to allow external connections. This typically involves setting up port forwarding, as discussed earlier. Additionally, you may need to adjust your router’s firewall settings to permit incoming traffic on the specified ports.
Step 2: Use Dynamic DNS for Easier Access
Dynamic DNS (DDNS) allows you to assign a domain name to your Raspberry Pi, making it easier to access without needing to remember its IP address. Services like No-IP or DuckDNS offer free DDNS solutions that update automatically whenever your IP address changes.
Alternative Methods to Access Your Raspberry Pi Remotely
Besides SSH and VPNs, there are other methods to access your Raspberry Pi remotely:
- Web-Based Interfaces: Use web-based tools like Webmin or Cockpit to manage your Raspberry Pi through a browser.
- Cloud Services: Platforms like ngrok or Dataplicity allow you to access your Raspberry Pi without configuring port forwarding or DDNS.
- Remote Desktop Protocols: Tools like VNC (Virtual Network Computing) enable graphical remote access to your Raspberry Pi.
How to Secure Your Raspberry Pi for Remote Access
Securing your Raspberry Pi is critical when enabling remote access. Here are some best practices:
- Change the default username and password.
- Use strong, unique passwords for all accounts.
- Enable two-factor authentication (2FA) for added security.
- Regularly update your Raspberry Pi’s operating system and software.
- Disable unused services and ports to minimize attack surfaces.
Frequently Asked Questions About Remote Access
What is the Best Method to Access My Raspberry Pi Remotely?
The best method depends on your needs. SSH is ideal for command-line access, while VPNs offer enhanced security. For graphical interfaces, VNC is a great option.
Is It Safe to Access My Raspberry Pi Remotely?
Yes, as long as you follow security best practices like using strong passwords, enabling firewalls, and keeping your software updated.
Can I Access My Raspberry Pi Without Port Forwarding?
Yes, you can use cloud-based services like ngrok or Dataplicity to bypass the need for port forwarding.
In conclusion, accessing your Raspberry Pi remotely outside the network is a powerful capability that can enhance your projects and workflows. By following the steps outlined in this guide, you can set up secure and efficient remote access. For more information on Raspberry Pi, visit the official Raspberry Pi website.
You Might Also Like
Sean Duffy Family: A Deep Dive Into Their Life, Legacy, And InfluenceUnderstanding Jason Alexander Age: A Comprehensive Look At His Life And Career
Exploring The Significance Of The 1986 Chinese Year: Traditions, Culture, And Influence
Mia Randall: Exploring The Life And Achievements Of A Remarkable Personality
Discover The Best 9x Movies Download Hub: Your Ultimate Guide
Article Recommendations