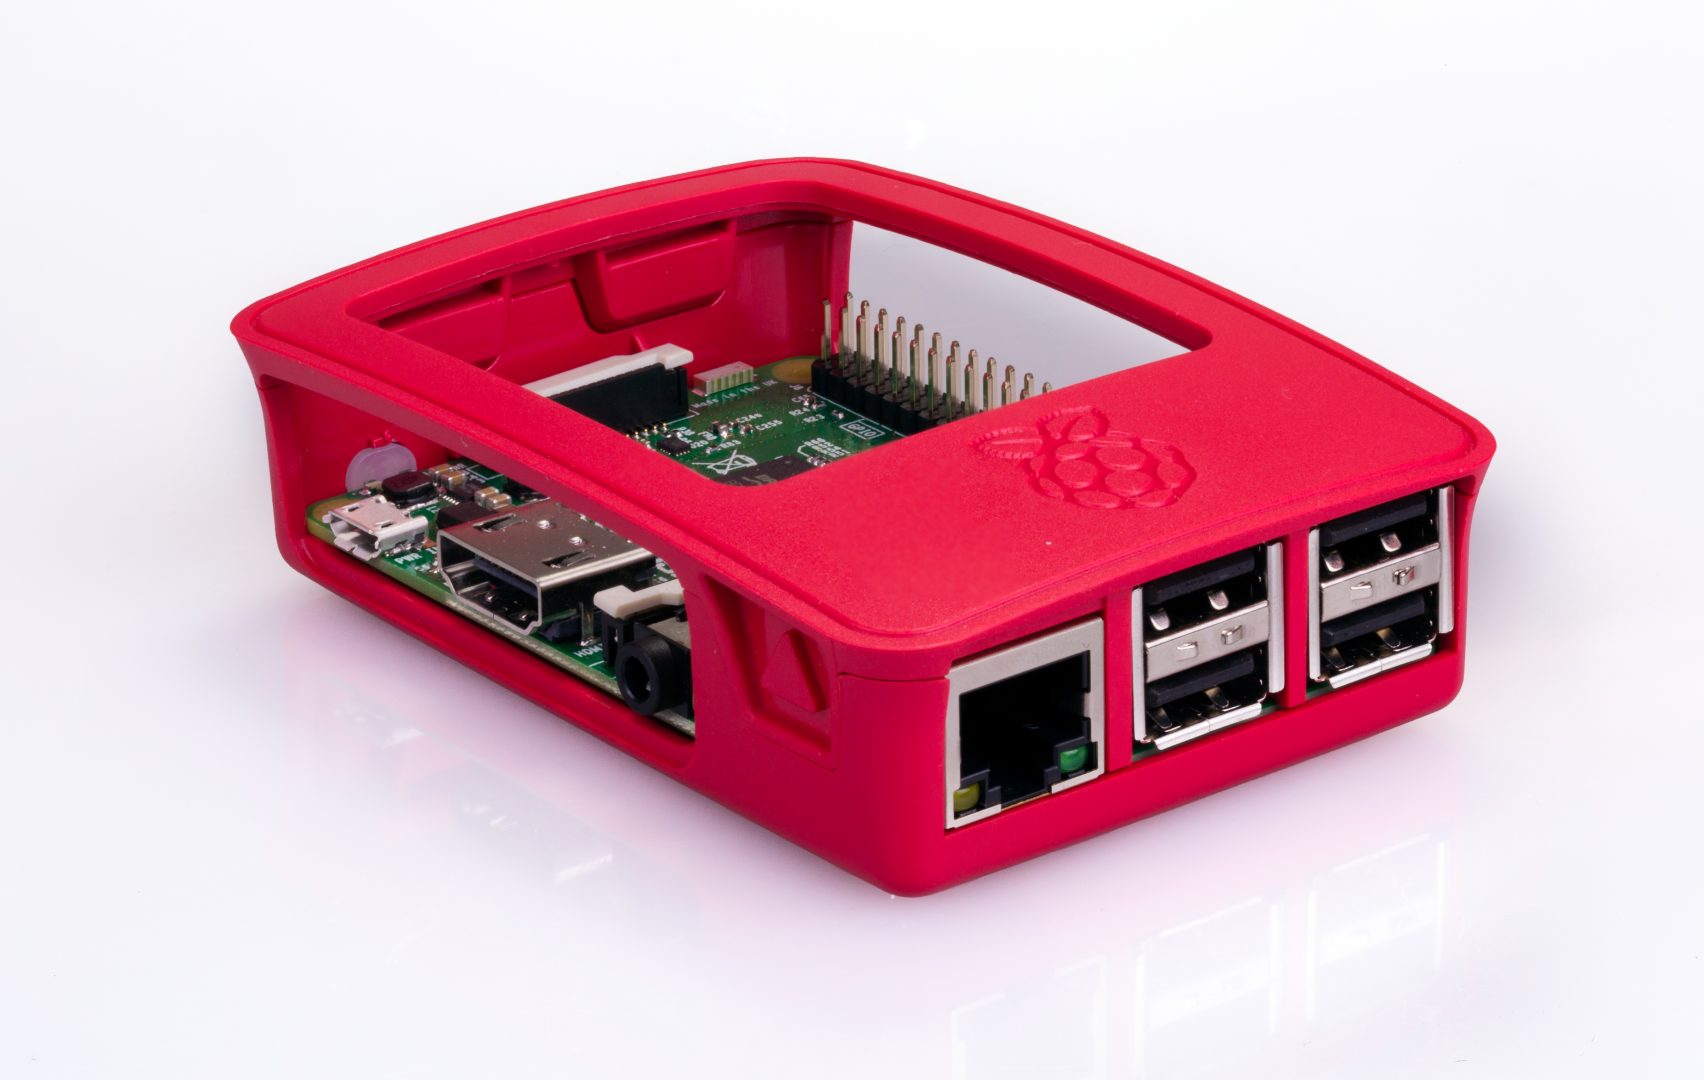
Accessing your Raspberry Pi remotely is a game-changer for tech enthusiasts, developers, and hobbyists alike. Whether you're managing a home automation system, running a personal web server, or experimenting with IoT projects, being able to connect to your Raspberry Pi from anywhere in the world opens up endless possibilities. But how do you achieve this securely and efficiently? This guide will walk you through everything you need to know about accessing your Raspberry Pi outside your home network, ensuring you can stay connected while maintaining robust security measures. With the right setup, you’ll have peace of mind knowing your device is accessible whenever you need it.
Setting up remote access might sound daunting, but it’s easier than you think. From configuring your router to setting up secure protocols like SSH and VPNs, we’ll cover all the essential steps in detail. You’ll also learn how to troubleshoot common issues that may arise during the process. The key lies in understanding the tools and techniques available, as well as following best practices to protect your data. By the end of this article, you’ll be equipped with the knowledge to confidently answer the question: How do I access my Raspberry Pi outside my home network?
Before diving into the technical details, it’s important to understand why remote access is so valuable. Imagine controlling your smart home devices, monitoring security cameras, or even hosting a website—all from the comfort of your phone or laptop, no matter where you are. This level of flexibility not only enhances productivity but also allows you to fully leverage the capabilities of your Raspberry Pi. So, let’s get started on making your Raspberry Pi accessible from anywhere!
Table of Contents
- What Is Remote Access and Why Is It Important?
- How Do I Access My Raspberry Pi Outside My Home Network?
- Can I Use a VPN to Access My Raspberry Pi Remotely?
- What Are the Best Tools for Remote Access?
- How Can I Secure My Raspberry Pi When Accessing It Remotely?
- Common Issues and How to Troubleshoot Them
- FAQs About Accessing Your Raspberry Pi Remotely
- Conclusion
What Is Remote Access and Why Is It Important?
Remote access refers to the ability to connect to and control a device or system from a different location, typically over the internet. For Raspberry Pi users, this capability is invaluable. Whether you’re managing a media server, running a home automation hub, or experimenting with IoT projects, remote access allows you to interact with your device without being physically present. This flexibility is especially beneficial for those who travel frequently or want to monitor their systems in real-time.
But why is remote access so crucial? First and foremost, it enhances convenience. Instead of being tied to your home network, you can manage your Raspberry Pi from anywhere in the world. For instance, if you’re away on vacation and need to check on your home security cameras or restart a service, remote access makes it possible. Additionally, it fosters innovation by enabling seamless collaboration. Developers can work together on projects, share resources, and troubleshoot issues without geographical limitations.
However, with great power comes great responsibility. Remote access must be implemented securely to prevent unauthorized access and potential data breaches. This is where tools like SSH, VPNs, and dynamic DNS come into play, ensuring that your connection remains both functional and protected. Understanding these tools and their role in remote access is the first step toward unlocking the full potential of your Raspberry Pi.
How Do I Access My Raspberry Pi Outside My Home Network?
Accessing your Raspberry Pi outside your home network involves several steps, each designed to ensure a smooth and secure connection. Below, we’ll break down the process into manageable tasks, starting with router configuration and moving on to setting up secure protocols.
Step 1: Configure Your Router for Port Forwarding
Port forwarding is a technique that allows external devices to access services running on your Raspberry Pi by directing incoming traffic to a specific port. Here’s how you can configure it:
- Log in to your router’s admin panel by entering its IP address into your browser (commonly 192.168.1.1).
- Navigate to the “Port Forwarding” section, which may be labeled as “Virtual Servers” or “NAT Settings.”
- Create a new rule, specifying the port number (e.g., 22 for SSH) and the local IP address of your Raspberry Pi.
- Save the changes and restart your router if necessary.
By forwarding the appropriate ports, you enable external devices to communicate with your Raspberry Pi. However, be cautious about exposing unnecessary ports, as this could create vulnerabilities.
Step 2: Set Up SSH for Secure Connections
SSH (Secure Shell) is a protocol that provides a secure way to access your Raspberry Pi remotely. To set it up:
- Enable SSH on your Raspberry Pi by navigating to the “Preferences” menu in the desktop environment or using the command
sudo raspi-config. - Generate SSH keys for added security by running
ssh-keygenon your local machine. - Use an SSH client like PuTTY (Windows) or Terminal (Mac/Linux) to connect to your Raspberry Pi using its public IP address and the forwarded port.
SSH not only encrypts your connection but also allows you to execute commands and transfer files securely. It’s a cornerstone of remote access for Raspberry Pi users.
Can I Use a VPN to Access My Raspberry Pi Remotely?
A Virtual Private Network (VPN) is another excellent option for accessing your Raspberry Pi securely. Unlike port forwarding, which exposes your device to the internet, a VPN creates a private tunnel between your device and your home network. This method is particularly useful for users who prioritize privacy and security.
To use a VPN, you can either set up your own using software like OpenVPN or subscribe to a third-party service. Setting up your own VPN requires more technical expertise but offers greater control over your network. On the other hand, third-party services are easier to configure and often come with user-friendly apps. Regardless of the approach, a VPN ensures that your connection remains encrypted and protected from prying eyes.
What Are the Best Tools for Remote Access?
Choosing the right tools can make a significant difference in your remote access experience. Let’s explore some of the most popular options:
Ngrok for Easy Tunneling
Ngrok is a lightweight tool that creates secure tunnels to your local server, making it accessible from the internet. It’s particularly useful for temporary access or testing purposes. Simply download Ngrok, run it on your Raspberry Pi, and it will generate a public URL that you can use to connect.
ZeroTier for Peer-to-Peer Networking
ZeroTier allows you to create a virtual private network (VPN) without the complexity of traditional setups. By installing ZeroTier on both your Raspberry Pi and your remote device, you can establish a peer-to-peer connection that bypasses the need for port forwarding or public IP addresses.
How Can I Secure My Raspberry Pi When Accessing It Remotely?
Security should always be a top priority when accessing your Raspberry Pi remotely. Here are some tips to keep your device safe:
- Change the default username and password to something strong and unique.
- Disable unused services and close unnecessary ports to reduce the attack surface.
- Use a firewall to monitor and control incoming and outgoing traffic.
- Regularly update your Raspberry Pi’s operating system and software to patch vulnerabilities.
By following these best practices, you can minimize the risk of unauthorized access and ensure that your Raspberry Pi remains secure.
Common Issues and How to Troubleshoot Them
Despite your best efforts, you may encounter issues when setting up remote access. Here are some common problems and their solutions:
- Connection Refused: Ensure that port forwarding is correctly configured and that the Raspberry Pi’s firewall isn’t blocking the connection.
- Dynamic IP Changes: Use a dynamic DNS service to keep track of your public IP address.
- Slow Performance: Optimize your network settings and consider upgrading your internet plan if necessary.
FAQs About Accessing Your Raspberry Pi Remotely
What is the best method for remote access?
The best method depends on your needs. For simplicity, SSH is ideal. For enhanced security, consider using a VPN.
Do I need a static IP address?
No, you don’t. A dynamic DNS service can map your changing public IP to a custom domain name.
Is remote access safe?
Yes, if you follow security best practices like enabling SSH keys, using firewalls, and keeping your system updated.
Conclusion
Accessing your Raspberry Pi outside your home network is a rewarding endeavor that enhances flexibility and functionality. By following the steps outlined in this guide, you can achieve seamless remote access while maintaining robust security. Whether you’re using SSH, a VPN, or tools like Ngrok and ZeroTier, the possibilities are endless. So go ahead and unlock the full potential of your Raspberry Pi today!
For further reading, check out this official Raspberry Pi documentation on remote access.
You Might Also Like
Exploring Donald Trump's Son Singing: A Deep Dive Into His Musical TalentUnlocking The Power Of Remote Pi Software: The Ultimate Guide For Seamless Connectivity
What Is Lily's Life Net Worth And Why Does It Matter?
Unveiling The Mysteries Of Chinese Astrology 1986: Insights And Interpretations
What Animal Represents The Year 1986? Discover The Fascinating Symbolism Behind It
Article Recommendations