Are you wondering if you can run TeamViewer on a Raspberry Pi? You're not alone. This question has sparked curiosity among tech enthusiasts, hobbyists, and professionals alike. The Raspberry Pi, a compact and versatile single-board computer, has become a go-to solution for countless projects, from home automation to remote server management. TeamViewer, on the other hand, is a popular remote desktop application that allows users to control devices from anywhere in the world. Combining these two tools could unlock a world of possibilities, but is it feasible? The short answer is yes, but there are nuances to consider. In this article, we’ll explore how you can run TeamViewer on a Raspberry Pi, step-by-step instructions, compatibility requirements, and tips for optimizing performance.
Before diving into the technical details, it's important to understand the context. Raspberry Pi devices run on Linux-based operating systems like Raspberry Pi OS, which is not natively supported by TeamViewer. However, with some tweaks and workarounds, you can successfully install and run TeamViewer on your Raspberry Pi. This opens up opportunities for remote access, troubleshooting, and managing your projects from afar. Whether you're a beginner or an advanced user, this guide will provide you with all the information you need to get started.
Throughout this article, we’ll address common concerns, such as system requirements, installation steps, and troubleshooting tips. We’ll also explore alternative remote desktop solutions for Raspberry Pi users. By the end of this guide, you’ll have a clear understanding of whether TeamViewer is the right choice for your Raspberry Pi setup and how to implement it effectively. So, let’s dive in and uncover the potential of remote access for your Raspberry Pi!
Table of Contents
- Can You Run TeamViewer on a Raspberry Pi?
- What Are the System Requirements for Running TeamViewer on a Raspberry Pi?
- How to Install TeamViewer on a Raspberry Pi: Step-by-Step Guide
- Is There a Better Alternative to TeamViewer for Raspberry Pi?
- Common Issues and How to Troubleshoot Them
- Optimizing TeamViewer Performance on a Raspberry Pi
- How to Use TeamViewer for Remote Access on a Raspberry Pi?
- Frequently Asked Questions
Can You Run TeamViewer on a Raspberry Pi?
Yes, you can run TeamViewer on a Raspberry Pi, but it requires some additional steps due to compatibility issues. TeamViewer is primarily designed for Windows, macOS, and Android, with limited official support for Linux-based systems like Raspberry Pi OS. However, Raspberry Pi users can still install TeamViewer by using the Linux version of the software and ensuring their system meets the necessary requirements.
Running TeamViewer on a Raspberry Pi can be particularly useful for remote access and control. For example, if you’re using your Raspberry Pi as a home server or a media center, you can use TeamViewer to manage it from another device. This eliminates the need for physical access and allows you to troubleshoot issues or update configurations remotely. Additionally, TeamViewer’s cross-platform compatibility means you can connect to your Raspberry Pi from a Windows PC, Mac, or even a smartphone.
It’s worth noting that while TeamViewer is functional on a Raspberry Pi, it may not perform as smoothly as it does on more powerful machines. The Raspberry Pi’s hardware limitations, such as its CPU and RAM, can impact the speed and responsiveness of remote sessions. To mitigate these issues, users can optimize their setup by closing unnecessary applications, reducing screen resolution, and using a wired internet connection for better stability.
What Are the System Requirements for Running TeamViewer on a Raspberry Pi?
Before attempting to install TeamViewer on your Raspberry Pi, it’s crucial to ensure your device meets the necessary system requirements. These requirements are essential for smooth performance and compatibility. Below are the key factors to consider:
Hardware Specifications
TeamViewer is a resource-intensive application, so your Raspberry Pi’s hardware plays a significant role in determining its performance. Here are the recommended specifications:
- Processor: Raspberry Pi 3 or newer (Raspberry Pi 4 is highly recommended for better performance).
- RAM: At least 2GB of RAM, though 4GB is preferable for multitasking and smoother operation.
- Storage: A minimum of 8GB of free storage space to accommodate the operating system, TeamViewer, and other applications.
Operating System
TeamViewer is compatible with Linux-based operating systems, including Raspberry Pi OS. However, it’s essential to use the latest version of Raspberry Pi OS (preferably the 64-bit variant) to ensure compatibility with TeamViewer’s features. Additionally, ensure that your system is fully updated by running the following commands in the terminal:
sudo apt update sudo apt upgrade Internet Connectivity
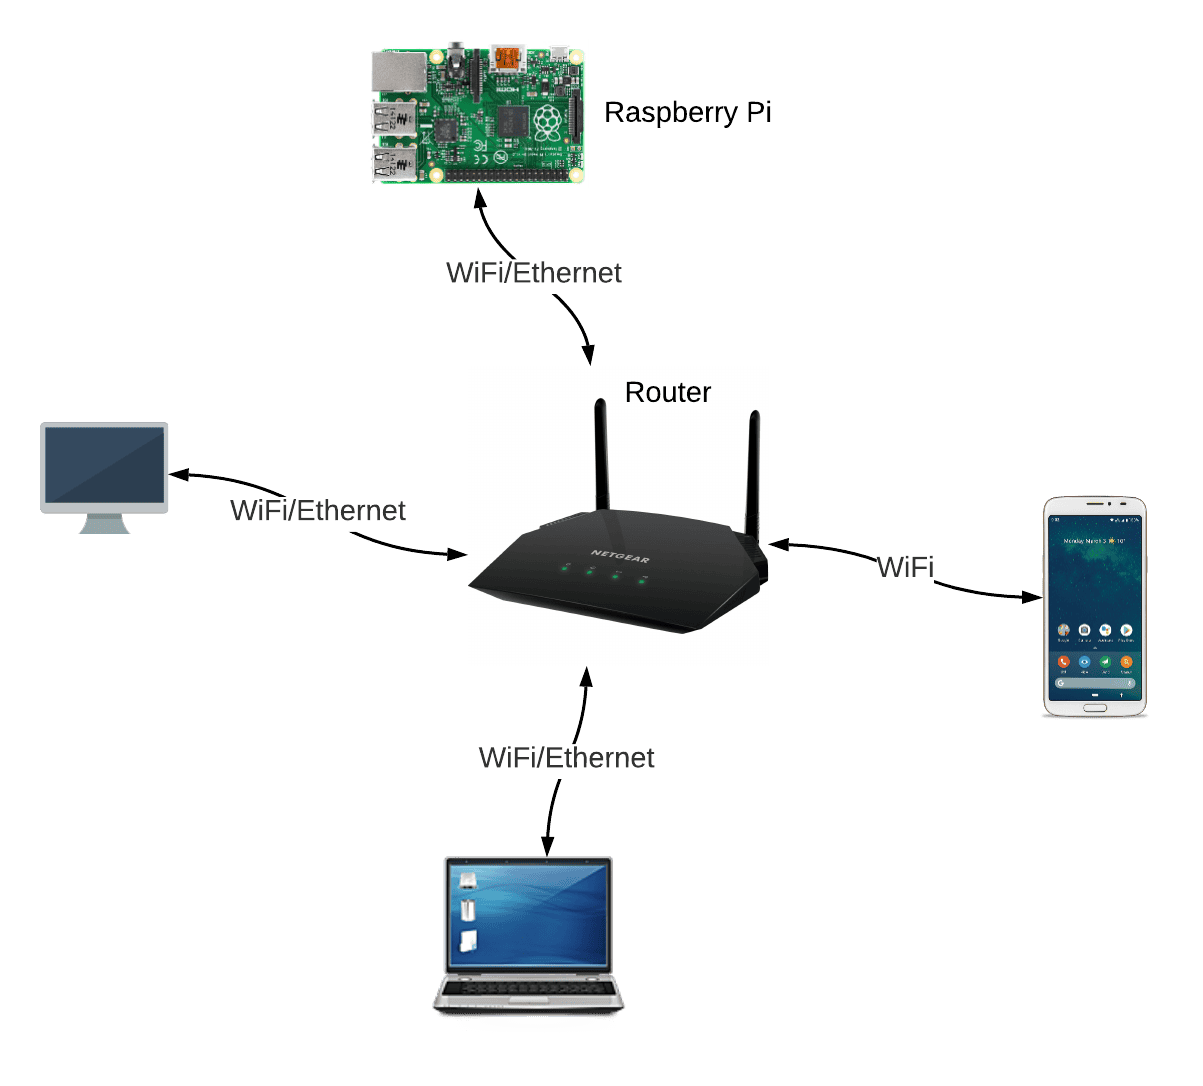
A stable internet connection is vital for running TeamViewer. While Wi-Fi can work, a wired Ethernet connection is recommended for faster and more reliable performance. This is especially important if you plan to use TeamViewer for resource-heavy tasks like file transfers or high-resolution remote desktop sessions.
Additional Software Dependencies
TeamViewer may require certain libraries and dependencies to function correctly on a Raspberry Pi. These dependencies can be installed using the terminal. Some common packages include:
- libjpeg62-turbo: For image processing.
- libxinerama1: For multi-monitor support.
- libxtst6: For handling user input.
How to Install TeamViewer on a Raspberry Pi: Step-by-Step Guide
Installing TeamViewer on a Raspberry Pi may seem daunting, but with the right guidance, it’s a straightforward process. Below is a step-by-step guide to help you get started:
Step 1: Download the TeamViewer Linux Package
Begin by downloading the TeamViewer package for Linux. Visit the official TeamViewer website and navigate to the Linux download section. Look for the ARM-based version of the software, as Raspberry Pi devices use ARM architecture. Once downloaded, transfer the package to your Raspberry Pi using a USB drive or via SSH.
Step 2: Install Dependencies
Before installing TeamViewer, you’ll need to install the necessary dependencies. Open the terminal and run the following command:
sudo apt install -y libjpeg62-turbo libxinerama1 libxtst6 This ensures that TeamViewer has all the required libraries to function correctly.
Step 3: Install TeamViewer
Once the dependencies are installed, navigate to the directory where the TeamViewer package is located and run the following command:
sudo dpkg -i teamviewer_*.deb If you encounter any errors, resolve them by running:
sudo apt --fix-broken install Step 4: Launch TeamViewer
After installation, launch TeamViewer by typing teamviewer in the terminal or searching for it in the applications menu. You’ll need to log in with your TeamViewer account to access its full features.
Is There a Better Alternative to TeamViewer for Raspberry Pi?
While TeamViewer is a powerful tool, it may not always be the best fit for Raspberry Pi users. Fortunately, there are several alternatives that offer similar functionality with better performance on low-resource devices. Below are some popular options:
VNC Connect
VNC Connect is a remote desktop solution specifically designed for Linux-based systems. It’s lightweight and offers excellent performance on Raspberry Pi devices. Additionally, VNC Connect provides features like file transfer and multi-monitor support.
AnyDesk
AnyDesk is another cross-platform remote desktop application that works well on Raspberry Pi. It’s known for its speed and low latency, making it ideal for users who prioritize performance.
NoMachine
NoMachine is a free alternative that excels in video streaming and remote desktop access. It’s highly optimized for low-resource devices and offers a user-friendly interface.
Common Issues and How to Troubleshoot Them
Like any software, running TeamViewer on a Raspberry Pi can come with its share of challenges. Below are some common issues and their solutions:
Issue 1: Slow Performance
If TeamViewer feels sluggish, try reducing the screen resolution or disabling visual effects. You can also close unnecessary applications to free up system resources.
Issue 2: Connection Drops
Connection issues are often caused by unstable internet. Switching to a wired Ethernet connection or restarting your router can help resolve this.
Issue 3: Missing Dependencies
If TeamViewer fails to launch due to missing dependencies, run the following command to install them:
sudo apt --fix-broken install Optimizing TeamViewer Performance on a Raspberry Pi
To get the most out of TeamViewer on your Raspberry Pi, consider implementing the following optimization tips:
- Use a wired internet connection for better stability.
- Reduce the screen resolution during remote sessions.
- Close unnecessary applications to free up system resources.
- Enable hardware acceleration if supported by your Raspberry Pi model.
How to Use TeamViewer for Remote Access on a Raspberry Pi?
Using TeamViewer for remote access on a Raspberry Pi is straightforward once it’s installed. Simply log in to your TeamViewer account, note the device ID, and connect from another device using the same account. You can use TeamViewer for tasks like file transfers, remote desktop control, and even running commands in the terminal.
Frequently Asked Questions
Can You Run TeamViewer on a Raspberry Pi Without an Internet Connection?
No, TeamViewer requires an active internet connection to function. However, you can use local network alternatives like SSH for offline access.
Is TeamViewer Free for Raspberry Pi Users?
TeamViewer offers a free version for personal use. However, business users may need to purchase a subscription.
Can I Use TeamViewer for Gaming on a Raspberry Pi?
While technically possible, TeamViewer is not optimized for gaming due to latency and performance limitations.
In conclusion, running TeamViewer on a Raspberry Pi is not only possible but also a practical solution for remote access and control. By following the steps outlined in this guide, you can successfully install and optimize TeamViewer for your Raspberry Pi setup. Whether you’re managing a home server or troubleshooting a project, TeamViewer can be a valuable tool in your arsenal.
For more information on Raspberry Pi and remote desktop solutions, check out the official Raspberry Pi website.
You Might Also Like
Edward Furlong Today: A Journey Through His Life And CareerMastering Remote Access: How To Use Remote Desktop To Raspberry Pi Effectively
Unveiling The Mysteries Of The Chinese Zodiac 1986: Insights And Meanings
Can You Remote Into A Raspberry Pi? A Comprehensive Guide To Remote Access
Why Morning Joe's Ratings Are Trending: A Deep Dive Into The Show's Popularity
Article Recommendations