Are you looking for a way to remotely manage your Raspberry Pi device using SSH? You're in the right place. This article dives deep into the world of SSH (Secure Shell) and how it can be used with RemoteIoT, a powerful tool for managing IoT devices like the Raspberry Pi. Whether you're a beginner or an expert, this guide will help you understand the process, tools, and best practices for SSH remote access.
SSH is a secure protocol used to access and manage devices remotely. It is widely used in IoT projects, including Raspberry Pi, to ensure secure communication between devices. RemoteIoT is a cloud-based platform that simplifies IoT device management, including SSH access. In this article, we’ll explore how to set up SSH on your Raspberry Pi using RemoteIoT, download the necessary tools, and ensure your device is secure and functional.
Before we dive into the technical details, it’s important to understand why SSH and RemoteIoT are essential for IoT device management. With the increasing number of IoT devices, managing them securely and efficiently has become a priority. SSH provides encrypted communication, while RemoteIoT offers a user-friendly interface for managing devices remotely. Together, they form a robust solution for Raspberry Pi users.
Table of Contents
- Introduction to SSH and RemoteIoT
- Setting Up SSH on Raspberry Pi
- Downloading and Installing RemoteIoT
- Configuring RemoteIoT for Raspberry Pi
- Best Practices for SSH Security
- Common Issues and Troubleshooting
- Benefits of Using RemoteIoT
- Advanced Features of RemoteIoT
- Use Cases for SSH and RemoteIoT
- Conclusion
Introduction to SSH and RemoteIoT
SSH, or Secure Shell, is a cryptographic network protocol used for secure data communication. It is widely used in IoT projects, including Raspberry Pi, to provide secure remote access to devices. SSH encrypts all data transmitted between the client and the server, making it nearly impossible for hackers to intercept sensitive information.
RemoteIoT is a cloud-based platform designed to simplify IoT device management. It offers features like device monitoring, remote access, and secure communication. By integrating SSH with RemoteIoT, users can manage their Raspberry Pi devices from anywhere in the world, ensuring both convenience and security.
Why Use SSH with RemoteIoT?
- Secure communication between devices
- Remote access to Raspberry Pi
- Real-time monitoring and management
- Compatibility with various IoT devices
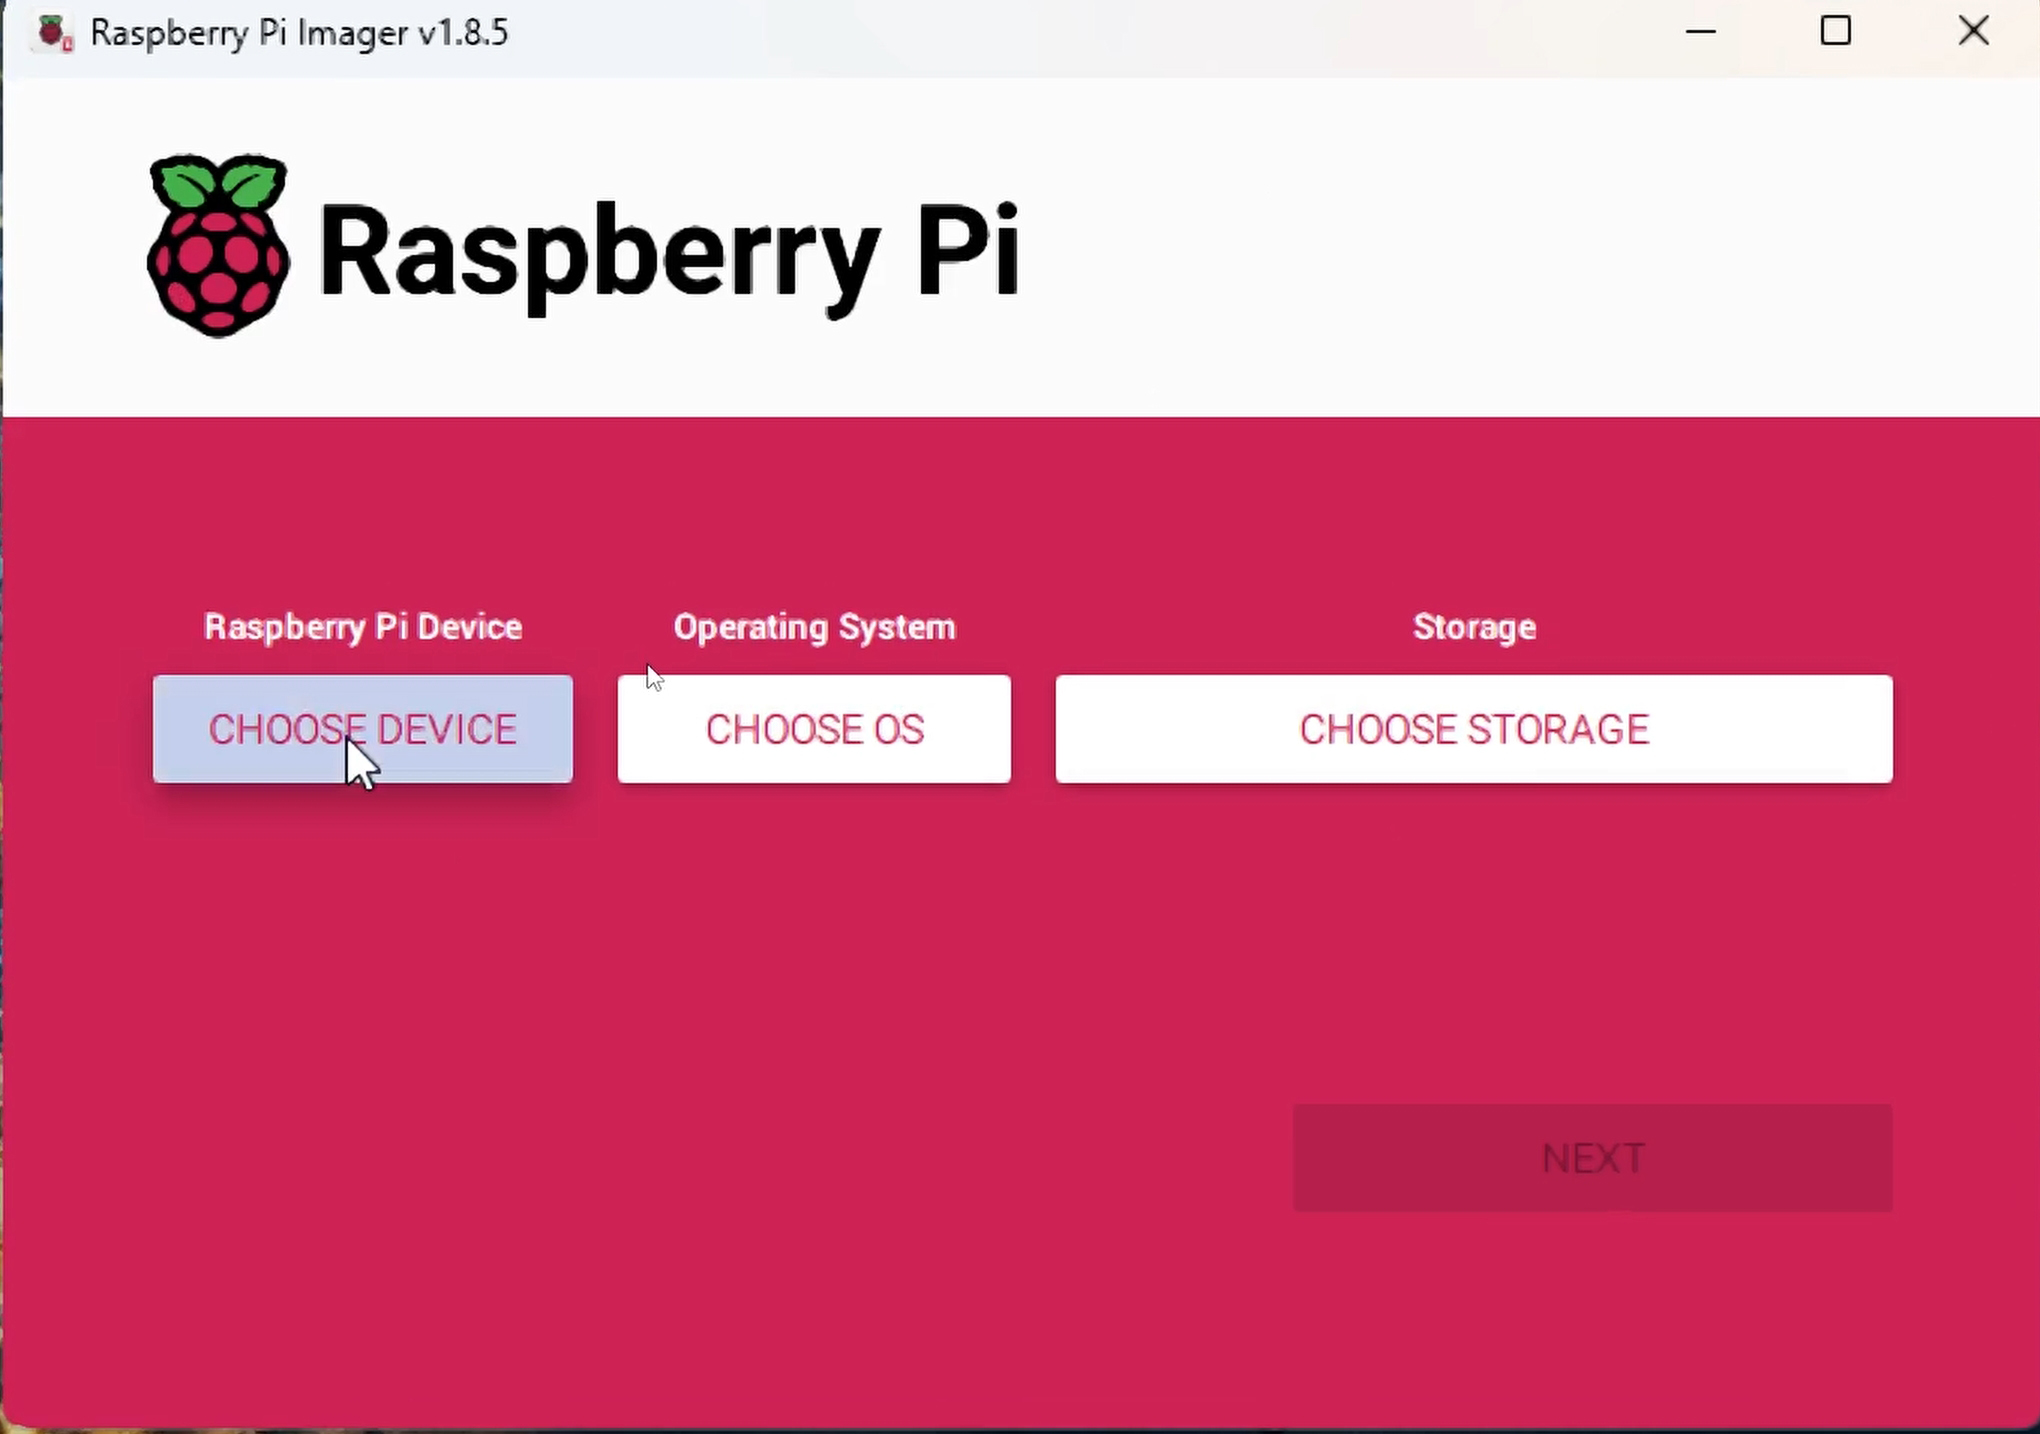
Setting Up SSH on Raspberry Pi
Setting up SSH on your Raspberry Pi is the first step toward remote management. By default, SSH is disabled on Raspberry Pi OS, but enabling it is a straightforward process. Follow the steps below to activate SSH on your device.
Step 1: Enable SSH on Raspberry Pi
To enable SSH, you can use the Raspberry Pi configuration tool or create an empty file named "ssh" in the boot directory. Here’s how:
- Insert the microSD card into your computer.
- Navigate to the boot directory.
- Create a new file named "ssh" (without any extension).
- Eject the microSD card and insert it back into your Raspberry Pi.
Step 2: Connect to Raspberry Pi via SSH
Once SSH is enabled, you can connect to your Raspberry Pi using an SSH client like PuTTY (for Windows) or the terminal (for macOS and Linux). Use the following command to connect:
ssh pi@raspberrypi.local
Replace "raspberrypi.local" with the IP address of your Raspberry Pi if necessary. The default username is "pi," and the password is "raspberry."
Downloading and Installing RemoteIoT
RemoteIoT provides a free download for managing IoT devices like Raspberry Pi. To get started, follow these steps:
Step 1: Download RemoteIoT
Visit the official RemoteIoT website and download the installation package. Ensure you download the version compatible with your operating system.
Step 2: Install RemoteIoT
Run the installer and follow the on-screen instructions. Once installed, launch the application and log in with your credentials.
Configuring RemoteIoT for Raspberry Pi
After installing RemoteIoT, you need to configure it to work with your Raspberry Pi. This involves adding your device to the platform and setting up SSH access.
Step 1: Add Raspberry Pi to RemoteIoT
Log in to your RemoteIoT account and navigate to the device management section. Click "Add Device" and enter the necessary details, such as the device name and IP address.
Step 2: Set Up SSH Access
In the RemoteIoT dashboard, enable SSH access for your Raspberry Pi. You can generate SSH keys directly from the platform to ensure secure communication.
Best Practices for SSH Security
While SSH is secure by design, following best practices can further enhance your device’s security.
Use Strong Passwords
Always use strong, unique passwords for your Raspberry Pi. Avoid using the default "raspberry" password.
Disable Password Authentication
Enable key-based authentication and disable password authentication to prevent brute-force attacks.
Change the Default SSH Port
Changing the default SSH port (22) to a non-standard port can reduce the risk of unauthorized access.
Common Issues and Troubleshooting
While setting up SSH and RemoteIoT, you may encounter some common issues. Here are solutions to help you troubleshoot:
SSH Connection Refused
If you receive a "connection refused" error, ensure SSH is enabled on your Raspberry Pi and the correct IP address is used.
Authentication Failed
Double-check your username and password. If using key-based authentication, ensure the correct SSH key is configured.
Benefits of Using RemoteIoT
RemoteIoT offers several advantages for managing IoT devices like Raspberry Pi:
- Centralized device management
- Secure remote access
- Real-time monitoring and alerts
- Scalability for large IoT deployments
Advanced Features of RemoteIoT
RemoteIoT provides advanced features for power users, including:
Automated Device Updates
Remotely update your Raspberry Pi’s software and firmware without manual intervention.
Data Analytics
Analyze device data to gain insights into performance and usage patterns.
Use Cases for SSH and RemoteIoT
SSH and RemoteIoT are versatile tools with numerous applications:
Home Automation
Manage smart home devices like lights, thermostats, and security cameras remotely.
Industrial IoT
Monitor and control industrial equipment in real-time for improved efficiency.
Conclusion
In this article, we’ve explored how to set up SSH on your Raspberry Pi and integrate it with RemoteIoT for secure remote management. By following the steps outlined, you can ensure your device is accessible, secure, and efficient. Remember to follow best practices for SSH security and leverage the advanced features of RemoteIoT for optimal performance.
Are you ready to take your Raspberry Pi management to the next level? Share your thoughts in the comments below or explore more articles on our site for additional tips and tutorials.
You Might Also Like
Charles Mesure Married: A Deep Dive Into His Personal Life And CareerRemoteIoT Display Chart Template: A Comprehensive Guide To Optimizing IoT Data Visualization
Girthmaster Vs Mia Z: A Comprehensive Guide To Choosing The Best Adult Toy
Petardas: A Comprehensive Guide To Understanding And Using Firecrackers Safely
Best Remote IoT Platform With SSH Key For Free Raspberry Pi: A Comprehensive Guide
Article Recommendations