Table of Contents
Introduction
Logging into Raspberry Pi remotely from Windows 10 is a powerful way to manage your device without needing physical access. Whether you're a hobbyist, developer, or IT professional, mastering remote access can significantly enhance your productivity and efficiency. Raspberry Pi, a compact yet versatile single-board computer, has gained immense popularity for its ability to handle a wide range of projects, from home automation to server hosting. However, managing it directly through a monitor and keyboard isn't always practical. This is where remote access comes into play.
In today's fast-paced world, being able to control your Raspberry Pi from a Windows 10 machine opens up a world of possibilities. You can monitor your projects, update software, or troubleshoot issues from anywhere in the world. This guide will walk you through the steps to achieve seamless remote access, ensuring you can harness the full potential of your Raspberry Pi. By the end of this article, you'll have a clear understanding of how to connect securely and efficiently.
Before diving into the technical details, it's important to understand why remote access is crucial. Whether you're managing a home server, running a media center, or experimenting with IoT devices, being able to log into your Raspberry Pi remotely saves time and effort. This guide will cover everything from setting up SSH to using graphical interfaces, ensuring you have all the tools you need to succeed.
What is Raspberry Pi?
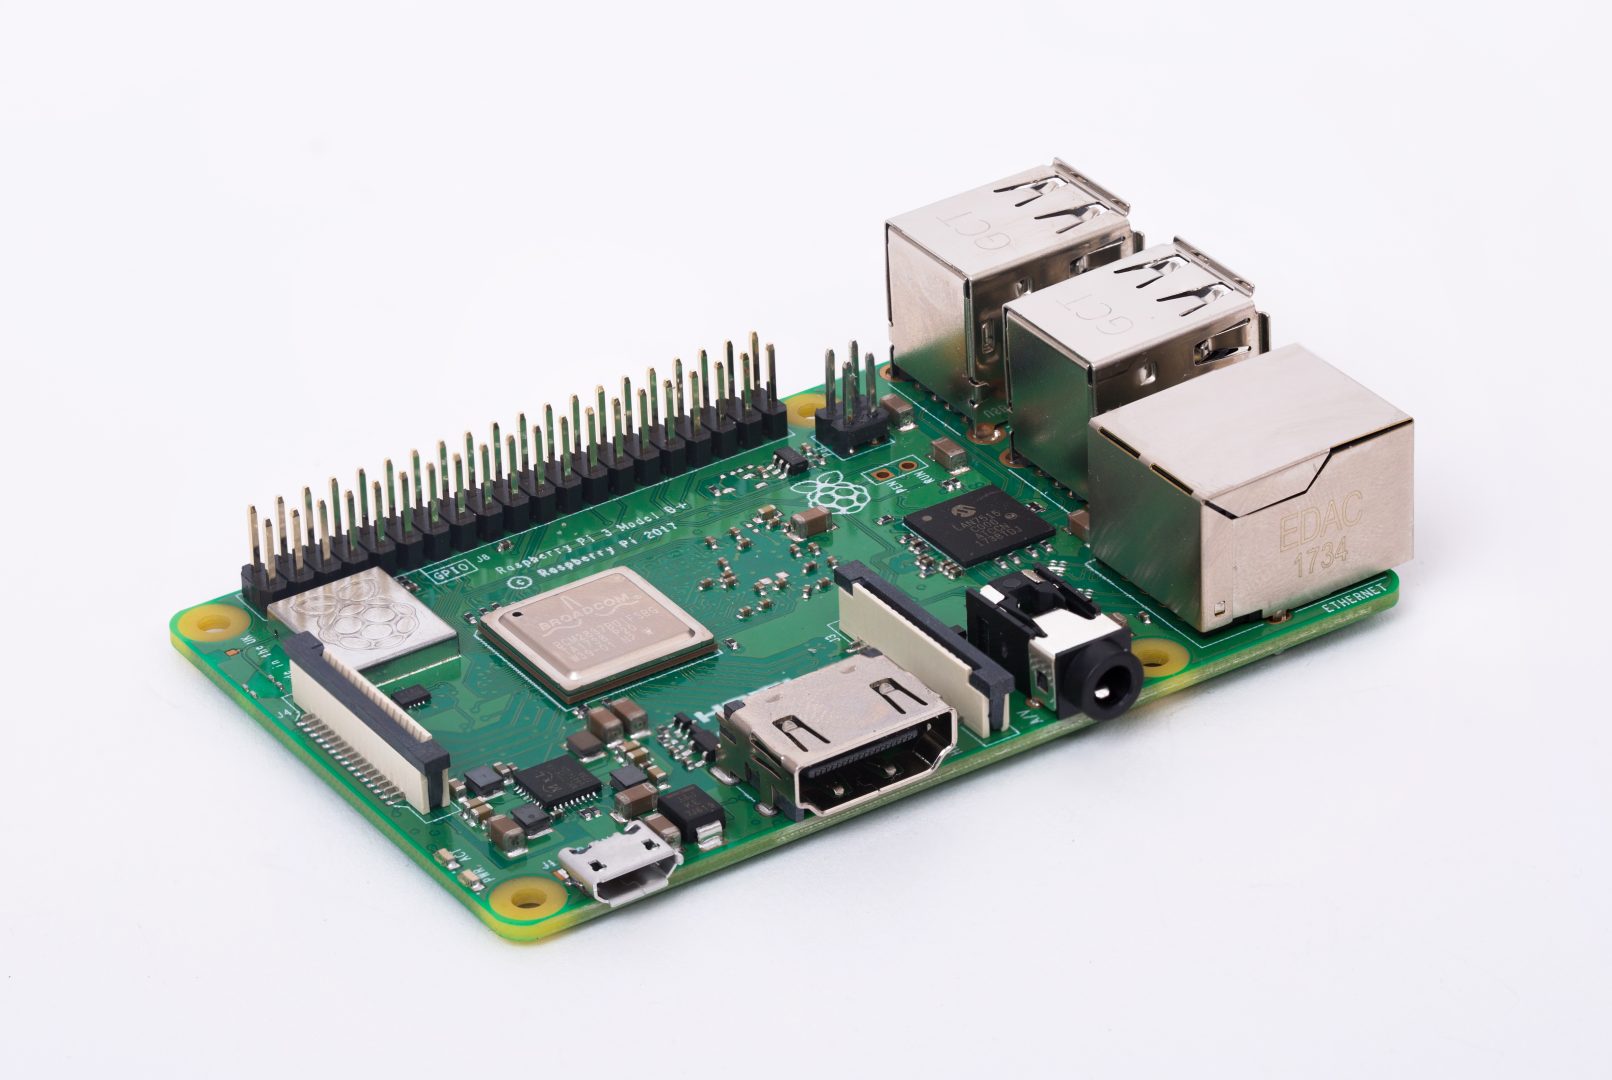
Raspberry Pi is a credit-card-sized computer designed to promote computer science education and enable DIY projects. Despite its small size, it packs a punch with features like a powerful CPU, GPU, and GPIO pins for hardware interfacing. It runs on various operating systems, with Raspberry Pi OS (formerly Raspbian) being the most popular choice.
Here’s a quick overview of Raspberry Pi’s key components:
- CPU: Broadcom ARM-based processor
- RAM: Available in 1GB, 2GB, 4GB, or 8GB variants
- Storage: MicroSD card slot for OS and data storage
- Connectivity: Wi-Fi, Bluetooth, Ethernet, and USB ports
Its versatility makes it ideal for a wide range of applications, from educational projects to industrial automation. By learning how to log into Raspberry Pi remotely from Windows 10, you can unlock its full potential without being tied to a physical setup.
Why Remote Access Matters
Remote access to your Raspberry Pi is not just a convenience; it's a necessity for many users. Imagine being able to monitor your home security system, update software on a server, or control IoT devices from the comfort of your Windows 10 laptop. This capability is especially important for professionals managing multiple devices or for users who need to troubleshoot issues on the go.
Here are some reasons why remote access is essential:
- Flexibility: Access your Raspberry Pi from anywhere, anytime.
- Efficiency: Perform tasks without needing physical access to the device.
- Cost-Effective: Eliminate the need for additional monitors, keyboards, or peripherals.
By mastering remote access, you can streamline your workflow and focus on what truly matters—building and managing your projects.
Prerequisites for Remote Access
Before you begin setting up remote access, ensure you have the following prerequisites in place:
- Raspberry Pi: Any model running Raspberry Pi OS.
- Windows 10 PC: With internet connectivity.
- Network Connection: Both devices should be connected to the same network initially.
- MicroSD Card: Preloaded with Raspberry Pi OS.
- Power Supply: For your Raspberry Pi.
Additionally, ensure that your Raspberry Pi is updated to the latest version of Raspberry Pi OS to avoid compatibility issues.
Setting Up SSH on Raspberry Pi
SSH (Secure Shell) is the most common method for remote access to Raspberry Pi. It allows you to control your device via a command-line interface. Follow these steps to enable SSH:
- Insert the MicroSD card into your Raspberry Pi and boot it up.
- Open the terminal and type
sudo raspi-config. - Navigate to Interfacing Options and enable SSH.
- Restart your Raspberry Pi to apply the changes.
Once SSH is enabled, note down the IP address of your Raspberry Pi by typing hostname -I in the terminal. This IP address will be used to connect from your Windows 10 machine.
Using PuTTY for Remote Access
PuTTY is a popular SSH client for Windows 10. Here’s how to use it to log into your Raspberry Pi:
- Download and install PuTTY from its official website.
- Open PuTTY and enter the Raspberry Pi's IP address in the Host Name field.
- Select SSH as the connection type and click Open.
- Log in using the default username (
pi) and password (raspberry).
Once connected, you can execute commands on your Raspberry Pi directly from your Windows 10 machine.
Remote Desktop Connection
If you prefer a graphical interface, Remote Desktop Protocol (RDP) is an excellent option. Follow these steps to set it up:
- Install
xrdpon your Raspberry Pi by runningsudo apt install xrdp. - Enable the service with
sudo systemctl enable xrdp. - On your Windows 10 machine, open the Remote Desktop Connection app.
- Enter the Raspberry Pi's IP address and click Connect.
- Log in using your Raspberry Pi credentials.
This method provides a full desktop experience, making it ideal for users who prefer GUI-based interactions.
Setting Up VNC for Graphical Access
What is VNC?
VNC (Virtual Network Computing) is another graphical remote access tool. It allows you to view and control your Raspberry Pi's desktop remotely. Here’s how to set it up:
- Install VNC Server on your Raspberry Pi by running
sudo apt install realvnc-vnc-server. - Enable VNC in
raspi-configunder Interfacing Options. - Download and install VNC Viewer on your Windows 10 machine.
- Open VNC Viewer and enter the Raspberry Pi's IP address.
- Log in using your Raspberry Pi credentials.
Advantages of VNC
- Graphical Interface: Full desktop experience.
- Easy to Use: Intuitive interface for beginners.
- Cross-Platform: Works on Windows, macOS, and Linux.
Troubleshooting Common Issues
Remote access can sometimes encounter issues. Here are some common problems and their solutions:
- Connection Refused: Ensure SSH or VNC is enabled on your Raspberry Pi.
- Incorrect IP Address: Verify the IP address using
hostname -I. - Firewall Blocking: Check your firewall settings to allow SSH or VNC traffic.
If issues persist, consult the official Raspberry Pi documentation or community forums for further assistance.
Best Practices for Secure Remote Access
Security is paramount when accessing your Raspberry Pi remotely. Follow these best practices to ensure a secure connection:
- Change Default Credentials: Update the default username and password.
- Use Strong Passwords: Avoid simple or easily guessable passwords.
- Enable Firewall: Restrict access to trusted IP addresses.
- Keep Software Updated: Regularly update Raspberry Pi OS and installed packages.
By adhering to these guidelines, you can minimize the risk of unauthorized access and protect your device.
Conclusion
Logging into Raspberry Pi remotely from Windows 10 is a skill that can greatly enhance your ability to manage projects efficiently. Whether you prefer command-line tools like SSH or graphical interfaces like VNC, there are multiple ways to achieve seamless remote access. By following the steps outlined in this guide, you can ensure a secure and reliable connection to your Raspberry Pi.
Now that you have the knowledge, it's time to put it into practice. Try setting up remote access on your Raspberry Pi today and experience the convenience it offers. If you found this guide helpful, feel free to share it with others or leave a comment below. For more tutorials and tips, explore our other articles on Raspberry Pi and remote computing.
You Might Also Like
Jeremy Roloff: A Comprehensive Guide To His Life, Career, And AchievementsSecurely Connect RemoteIoT P2P Free Raspberry Pi Download: A Comprehensive Guide
4Hub: The Ultimate Guide To Understanding And Utilizing This Innovative Technology
How To Use RemoteIoT VPC SSH On Windows 10 Without Complications
Sone 385 Video: Everything You Need To Know About This Viral Sensation
Article Recommendations