Table of Contents
- Introduction
- What is Raspberry Pi?
- Why Remote Connection is Important
- Preparing Your Raspberry Pi
- Setting Up SSH
- Configuring VNC
- Using RDP for Remote Access
- Securing Your Connection
- Troubleshooting Common Issues
- Conclusion
Introduction
Setting up a free remote connection on your Raspberry Pi is an essential skill for anyone looking to maximize its potential. Whether you're using your Raspberry Pi for home automation, server hosting, or educational purposes, remote access allows you to manage and control your device from anywhere in the world. This guide will walk you through the process of setting up a secure and free remote connection, ensuring that you can harness the full power of your Raspberry Pi without any hassle.
Raspberry Pi, with its versatility and affordability, has become a favorite among tech enthusiasts and hobbyists. However, to fully utilize its capabilities, understanding how to connect to it remotely is crucial. Remote access not only saves time but also provides flexibility, enabling you to perform tasks without being physically present near your device.
In this comprehensive guide, we will cover everything from the basics of Raspberry Pi to advanced remote connection techniques. By the end of this article, you will have the knowledge and tools necessary to set up a secure remote connection on your Raspberry Pi, all for free. Let's dive in and explore how you can take full control of your Raspberry Pi from anywhere in the world.
What is Raspberry Pi?
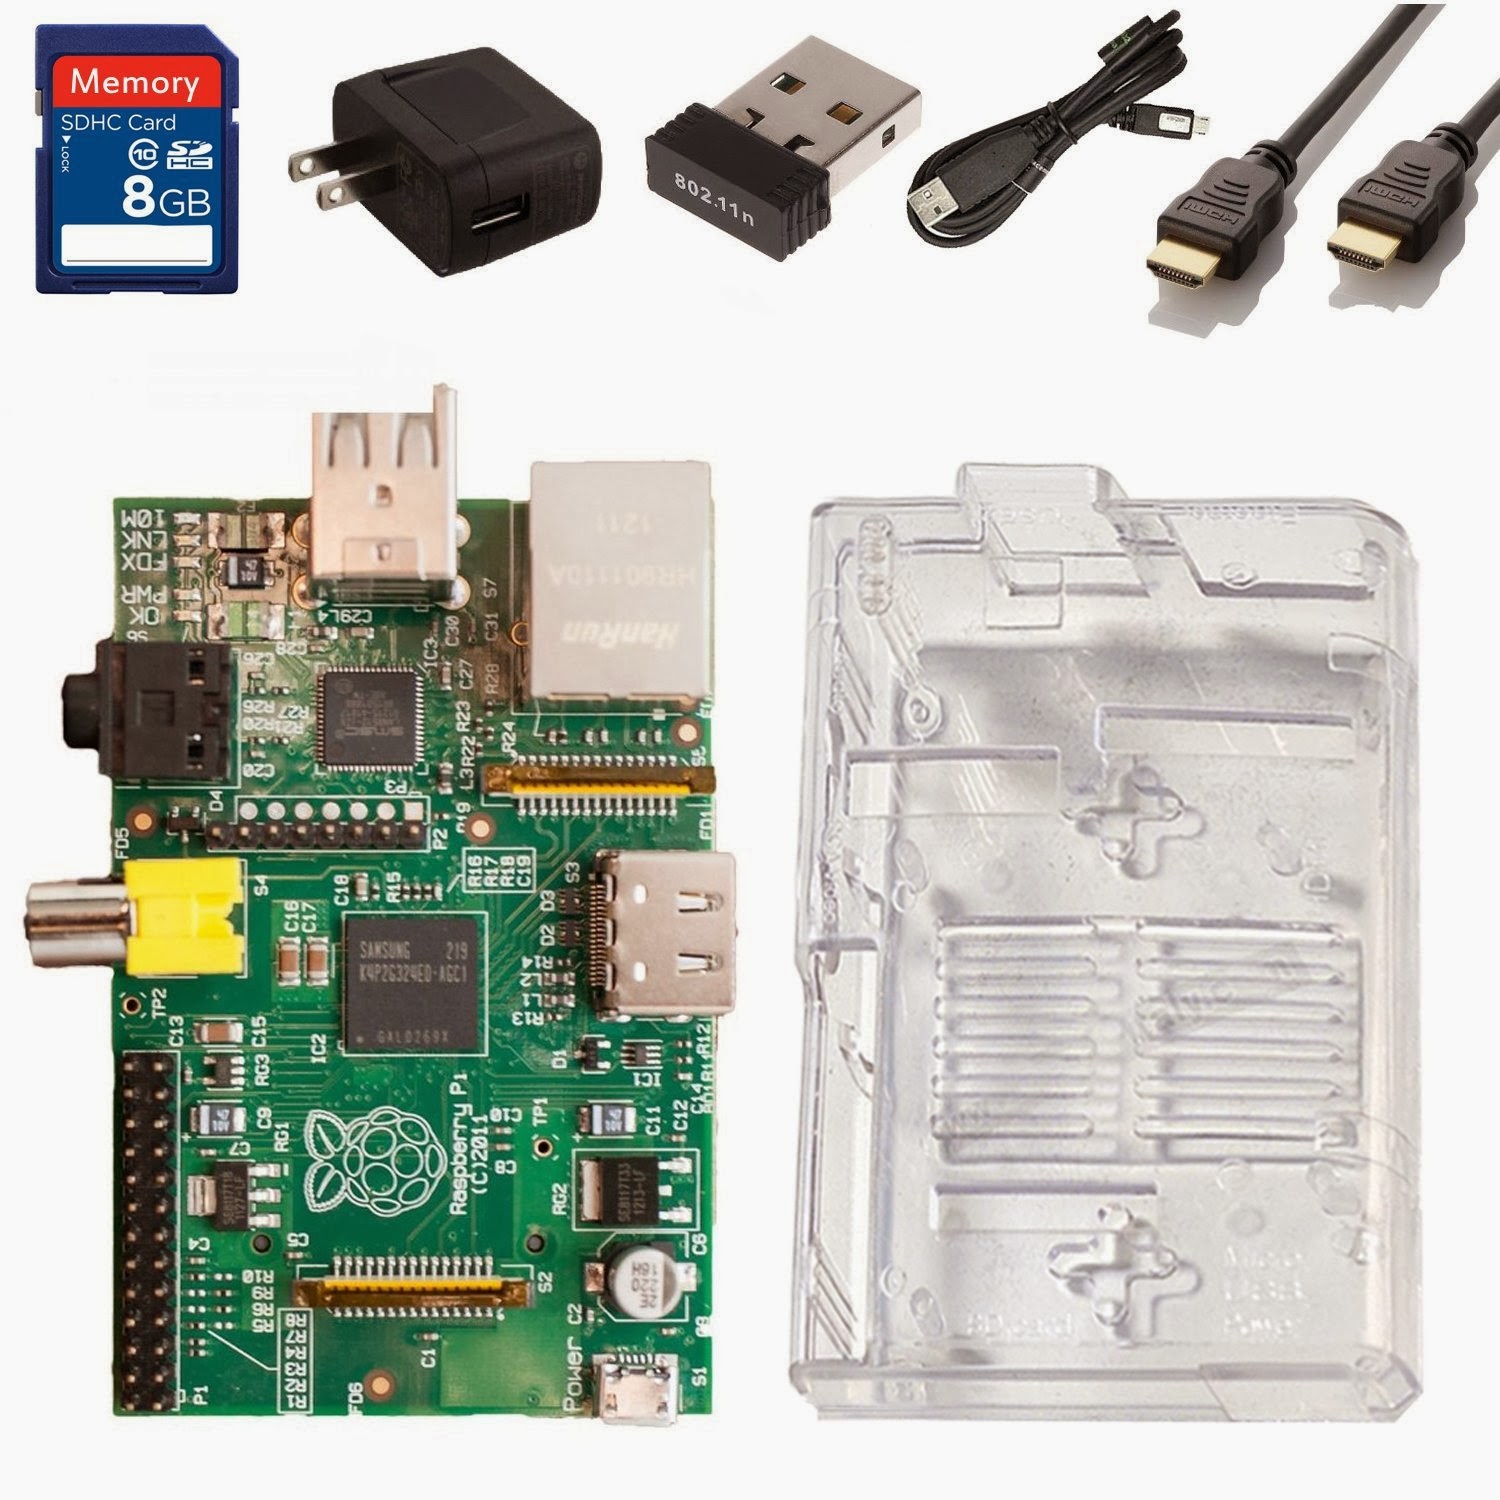
Raspberry Pi is a series of small, single-board computers developed by the Raspberry Pi Foundation. These devices are designed to promote teaching basic computer science in schools and developing countries. However, their affordability, versatility, and open-source nature have made them popular among hobbyists, developers, and tech enthusiasts worldwide.
Here are some key features of Raspberry Pi:
- Compact Size: Raspberry Pi boards are small, making them ideal for projects with space constraints.
- Low Power Consumption: These devices consume minimal power, making them energy-efficient.
- Versatility: Raspberry Pi can be used for a wide range of applications, from media centers to IoT devices.
- Community Support: A vast community of users and developers provides extensive resources and support.
Whether you're a beginner or an experienced user, Raspberry Pi offers endless possibilities for innovation and learning.
Why Remote Connection is Important
Remote connection is a critical feature for anyone using Raspberry Pi, especially for those who rely on it for server hosting, IoT projects, or automation tasks. Here are some reasons why remote access is essential:
- Convenience: Remote access allows you to manage your Raspberry Pi from anywhere, eliminating the need for physical interaction with the device.
- Efficiency: You can perform tasks, troubleshoot issues, and update software without being tied to the physical location of your Raspberry Pi.
- Cost-Effective: By setting up free remote connections, you can avoid the costs associated with proprietary remote access tools.
- Flexibility: Remote access enables you to use your Raspberry Pi for a variety of applications, from home automation to cloud storage.
With remote access, you can unlock the full potential of your Raspberry Pi, making it a powerful tool for both personal and professional projects.
Preparing Your Raspberry Pi
Before setting up remote access, it's essential to ensure that your Raspberry Pi is properly configured. Follow these steps to prepare your device:
1. Install the Operating System
Raspberry Pi typically runs on Raspberry Pi OS (formerly Raspbian). You can download the latest version from the official Raspberry Pi website and flash it onto an SD card using tools like Balena Etcher.
2. Connect to the Internet
Ensure your Raspberry Pi is connected to the internet via Wi-Fi or Ethernet. You can configure Wi-Fi settings during the initial setup or by editing the wpa_supplicant.conf file.
3. Update the System
Run the following commands in the terminal to update your system:
sudo apt update sudo apt upgradeThis ensures that your Raspberry Pi has the latest software and security patches.
Setting Up SSH
SSH (Secure Shell) is one of the most common methods for remote access to a Raspberry Pi. Here's how to set it up:
1. Enable SSH
By default, SSH is disabled on Raspberry Pi OS. You can enable it by:
- Using the
raspi-configtool: Runsudo raspi-config, navigate to "Interfacing Options," and enable SSH. - Creating an empty file named
sshin the boot partition of your SD card.
2. Find Your Raspberry Pi's IP Address
Use the following command to find your Raspberry Pi's IP address:
hostname -INote down the IP address as you'll need it to connect remotely.
3. Connect via SSH
From another computer, use an SSH client like PuTTY (Windows) or the terminal (Linux/Mac) to connect:
ssh pi@your_raspberry_pi_ipReplace your_raspberry_pi_ip with the actual IP address of your Raspberry Pi.
Configuring VNC
VNC (Virtual Network Computing) allows you to access your Raspberry Pi's graphical desktop remotely. Here's how to set it up:
1. Enable VNC
Use the raspi-config tool to enable VNC under "Interfacing Options."
2. Install a VNC Viewer
Download and install a VNC Viewer on your computer from the official RealVNC website.
3. Connect to Your Raspberry Pi
Open the VNC Viewer, enter your Raspberry Pi's IP address, and log in using your credentials.
Using RDP for Remote Access
RDP (Remote Desktop Protocol) is another option for remote access. Here's how to set it up:
1. Install xrdp
Run the following command to install xrdp:
sudo apt install xrdp2. Connect via RDP
Use an RDP client like Microsoft Remote Desktop to connect to your Raspberry Pi using its IP address.
Securing Your Connection
Securing your remote connection is crucial to protect your Raspberry Pi from unauthorized access. Follow these steps:
1. Change the Default Password
Change the default password for the "pi" user to something more secure:
passwd2. Use SSH Keys
Set up SSH key-based authentication for a more secure login process.
3. Disable Password Authentication
Edit the SSH configuration file to disable password authentication:
sudo nano /etc/ssh/sshd_configSet PasswordAuthentication to no.
Troubleshooting Common Issues
Here are some common issues you might encounter and how to resolve them:
1. Connection Refused
Ensure SSH or VNC is enabled and the correct IP address is used.
2. Slow Performance
Reduce the resolution in VNC settings or use a wired connection for better performance.
3. Security Warnings
Verify that your SSH keys are correctly configured and avoid using default credentials.
Conclusion
In this guide, we've explored how to set up a free remote connection on your Raspberry Pi using SSH, VNC, and RDP. By following these steps, you can manage your Raspberry Pi from anywhere in the world, unlocking its full potential for various applications. Remember to secure your connection to protect your device from unauthorized access.
We hope this guide has been helpful in setting up your Raspberry Pi for remote access. If you have any questions or need further assistance, feel free to leave a comment below. Don't forget to share this article with others who might find it useful and explore more guides on our website!
You Might Also Like
How Much Is Alan Carr Worth? A Comprehensive Look At His Net Worth And CareerTim Tebow Now: The Inspiring Life And Impact Of A Multifaceted Icon
Portia De Rossi Interview: Insights And Inspirations From The Iconic Actress
Discovering Anna Khachiyan: Insights Into Her Journey And Influence
Unveiling Zeb Powell's Net Worth: A Comprehensive Guide To His Success
Article Recommendations